Start with the fabric and the seam
A seam finish keeps cut edges from shedding threads during construction, use, and cleaning. Before choosing one, rub a scrap edge between your fingers and give it a gentle pull. A tightly woven fabric may lose only a few threads; a loose weave may unravel quickly. Check both lengthwise and crosswise cuts, since they can behave differently. If the finished piece will be washed, wash and dry a test scrap as you expect to care for the piece.
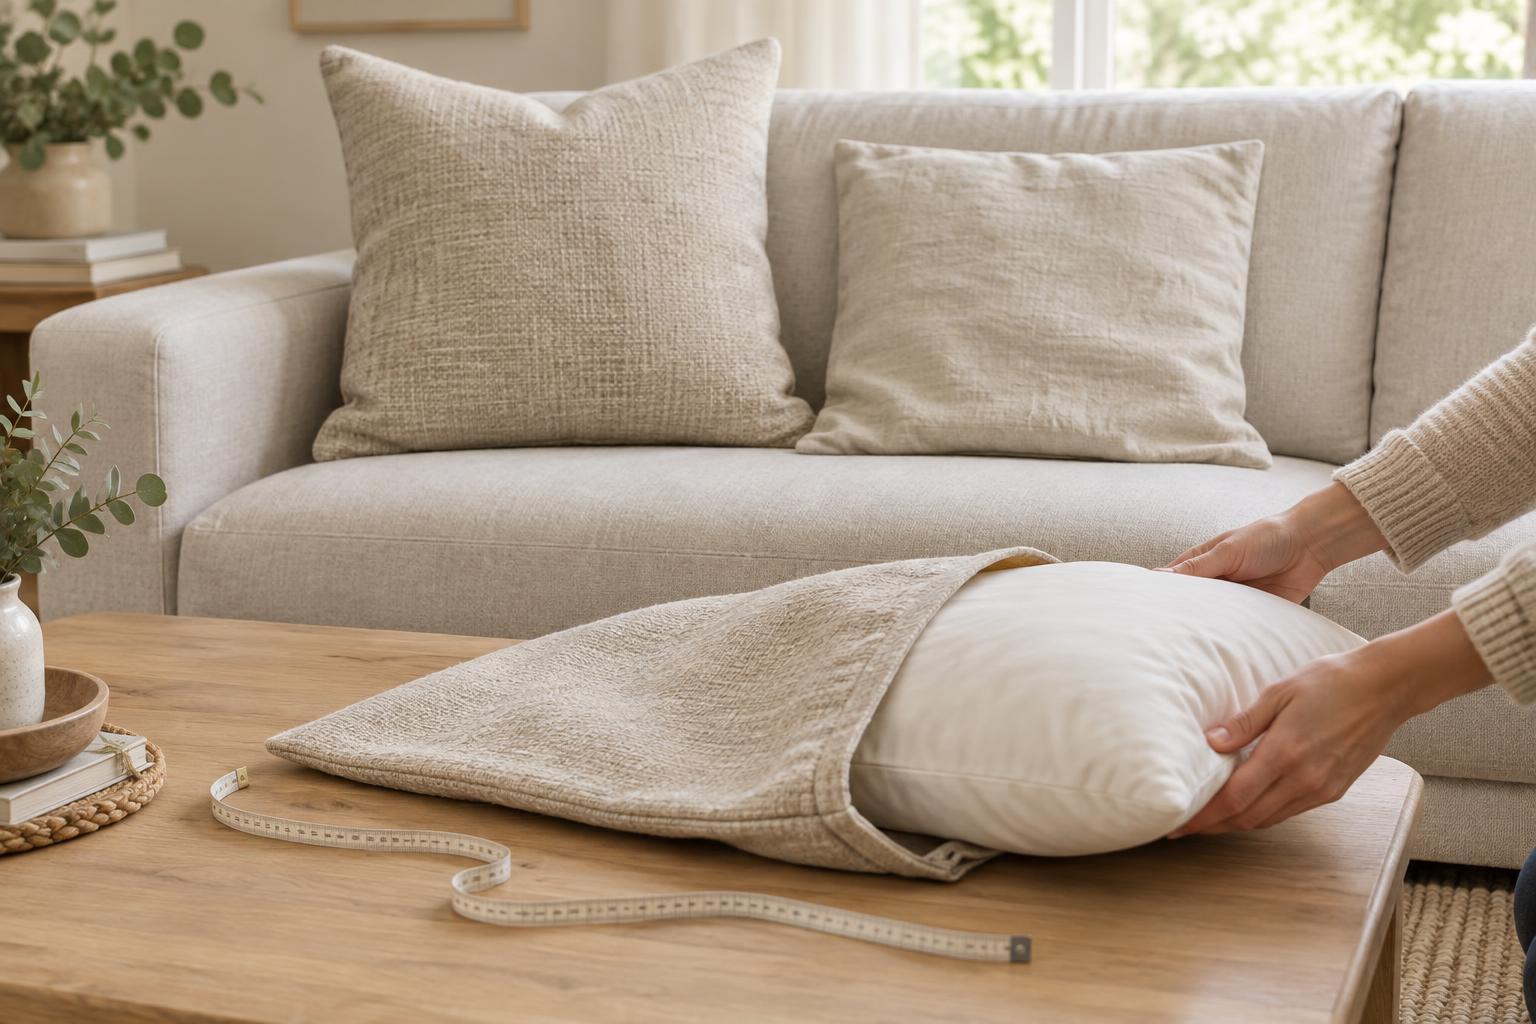
Think about where the seam will sit. The inside of a lined cushion cover is rarely seen, but its seams still need to withstand handling when the cover is removed. An unlined table runner has a visible underside, so neatness matters as much as durability. Also note the fabric’s weight: a finish that looks tidy on light cotton may create an awkward ridge in heavy upholstery cloth. Leave enough seam allowance for the finish you plan to use, and test on scraps before cutting every piece.
Quick finishes for seams hidden inside a project
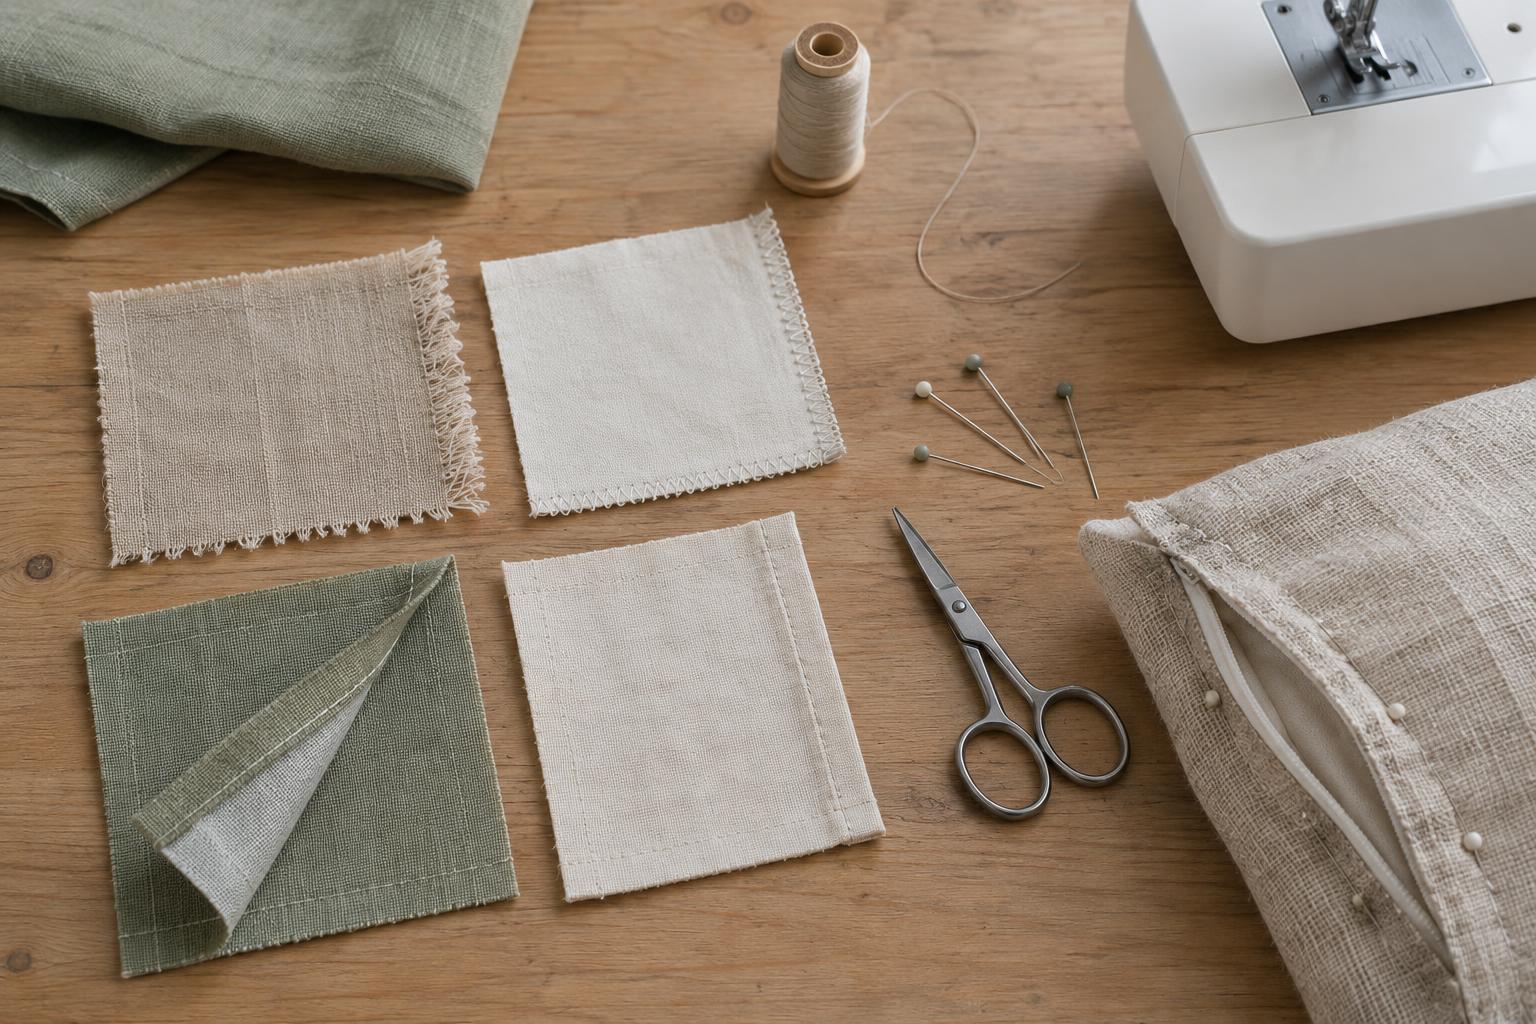
A zigzag stitch is a useful starting point when you have a standard sewing machine. Sew the main seam first, then zigzag near the raw edge of each allowance. The stitches should catch the fabric without pulling it into a tight cord. You can also use an overcast stitch if your machine has one. Either approach is easy to apply to straight or curved seams, though very loose fabrics may continue to shed outside the stitching if you leave too much raw edge.
Pinking shears cut a zigzag edge that can slow fraying on some firmly woven fabrics. They are best treated as a modest finish for a seam that will see little wear, not a reliable solution for a fabric that unravels readily. If you have access to a serger, it can trim and wrap the edge in one pass. Sew a sample first: removing too much allowance or cutting into the seam line is difficult to correct. For a small project, a carefully sewn machine zigzag may be all you need.
Enclosed finishes for a clean interior
A French seam hides both raw edges inside a narrow fold. It suits many light to medium-weight fabrics and gives an unlined cushion cover or fabric storage bag a tidy interior. Sew the first seam with the wrong sides together, trim the allowance if needed, press it, then turn the fabric so the right sides face and sew again. The second line of stitching must fully enclose the first seam’s raw edges. Check your seam allowance before starting so the finished piece stays the intended size.
French seams become bulky in thick fabrics, at tight corners, or where several seams meet. For those areas, a bound seam may be more comfortable. Folded bias binding wraps around a raw allowance and is stitched in place, creating a clean edge without folding the main fabric twice. It takes more time and adds a little weight, but it can be a useful choice when the inside of a project will be visible. Choose binding that bends easily around the seam; stiff binding can make a soft fabric hang unevenly.
Choose for wear, bulk, and appearance
If the fabric frays easily and the item will be handled or washed often, favor a finish that encloses or securely wraps the cut edge. If the fabric is sturdy and the seams are hidden, a zigzag or overcast finish may be sufficient. For a decorative textile that is rarely moved, you may have more flexibility, but inspect a sample rather than relying on how the fabric feels on the bolt. Loose threads can appear after the seam allowances are pressed or the piece is turned right side out.
Avoid choosing the most elaborate finish by default. A thick bound edge could show as a ridge along a cushion seam, while a narrow French seam could strain a heavy fabric. Consider whether allowances should be pressed open to reduce bulk or together to keep an enclosed finish lying flat. At corners and seam intersections, trim only where needed, keeping enough fabric to support the stitching.
Make a sample you can trust
Cut two scraps large enough to handle easily and sew them with the same thread, needle, stitch, and allowance you intend to use. Finish one seam, then press it and look at both sides. Tug gently across the seam, turn the sample inside out, and check for loose threads, puckering, or a raised edge. If the finished item will be laundered, put the sample through the same care routine before committing to the finish.
Keep a brief note of what worked alongside a labeled scrap. That small record is helpful when you return to the fabric for matching napkins, another cushion, or a repair. The best seam finish is not necessarily the most decorative one: it is the one that contains the cut edges, suits the fabric’s weight, and leaves the finished object looking and feeling the way you intended.