Set up a small, manageable project
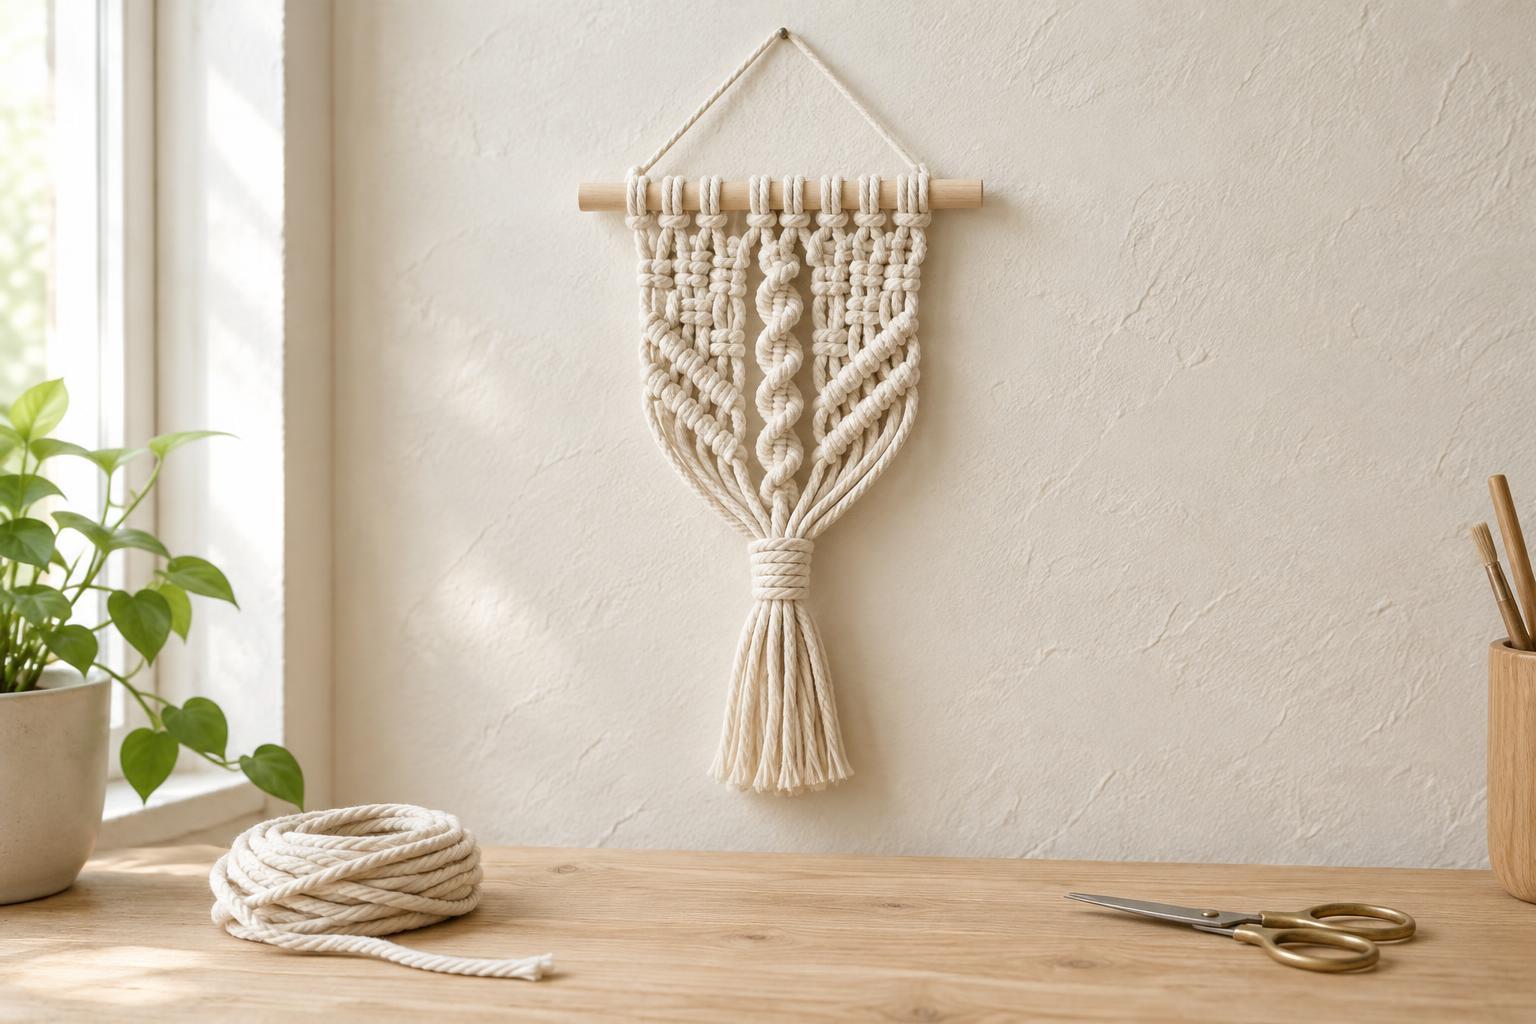
A small wall hanging is a good place to learn macramé because you can see what each knot does without managing a large tangle of cord. Start with a dowel or smooth branch roughly 25–30 cm wide and eight lengths of cotton macramé cord, each about 1.5–2 m long. Folded over the dowel, they will give you 16 hanging ends. Cord thickness and your chosen knot spacing will affect the finished length, so leave extra cord if you want a long fringe.
Hang the dowel at a comfortable working height, then comb the cords straight with your fingers. For the instructions below, a “working cord” moves to form a knot; a “holding cord” stays relatively still while another cord knots around it. Keep tension firm but gentle. Pulling every knot as tight as possible can make the hanging bunch up and hide the pattern.
1. Lark’s head knot: attach the cords
Fold one cord in half. Place its folded loop over the front of the dowel, bring the loop down behind it, and pass both loose ends through the loop. Pull the ends evenly to snug the knot against the dowel. Repeat with the remaining seven cords, spacing the attachments across the dowel. Each lark’s head leaves two hanging ends.
This is an attachment knot rather than a decorative row, but its spacing sets up everything below. Slide the knots along the dowel until the gaps look even. If one side of a folded cord is noticeably shorter than the other, adjust it now, before adding more knots.
2. Square knot: build a flat pattern
Work with four neighboring cord ends. Think of them as left outer, two center, and right outer. The center pair stays in place. Bring the left outer cord across the front of the centers and under the right outer cord. Pass the right outer cord behind the centers and up through the loop on the left. Tighten gently. For the second half, reverse the move: bring the right outer cord across the front, then pass the left outer cord behind the centers and up through the loop on the right. Tighten again. Together, those two halves make one square knot.
Make one square knot with each group of four ends to create a row of four. You can add another row directly below, or shift your groups over by two ends for a staggered pattern, leaving the outermost two ends loose on each side. Switching starting sides between the two halves matters: repeating the same side instead produces a twist.
3. Spiral knot and 4. Double half hitch: add movement
A spiral knot uses the first half of a square knot over and over. With four ends, bring the left outer cord across the two center cords, then pass the right outer cord behind the centers and through the loop on the left. Tighten and repeat, always starting on the left. After several knots, the column begins to twist. Let it turn naturally rather than forcing it flat. Try a short spiral beneath each outer square knot, leaving the middle cords free for a contrasting detail.
For a double half hitch, choose one cord to act as a holding cord and angle it toward the direction you want a line to travel. Take the neighboring working cord over and around the holding cord, pulling its end through the loop you have made. Repeat that wrap once more with the same working cord, then slide the pair of wraps into place. Move to the next working cord and repeat. Each pair of wraps is one double half hitch.
To make a shallow V, use an outer cord as the holding cord and tie neighboring cords along it toward the center. Mirror the process from the opposite side. Keep each holding cord at a consistent angle; the knots will follow its path. If the line looks uneven, ease the knots along the holding cord before tightening them further.
5. Gathering knot: finish the hanging
A gathering knot wraps a bundle of cords and makes a tidy band above the fringe. Cut a separate short piece of cord. Lay it against the bundle in a narrow U shape, with the loop pointing down and one tail sticking up. Use the upper tail to wrap around the bundle several times, working downward over the U. Pass the wrapping end through the exposed loop, then pull the other tail to draw that end underneath the wraps. Trim the two short tails close to the band, taking care not to cut the hanging cords.
Gather all 16 ends below your knotted pattern, or gather a smaller central bundle and leave the side cords loose. Finally, trim the fringe to a straight, angled, or soft V-shaped edge. Step back before cutting: a little empty space between knot sections often makes a small wall hanging easier to read. With these five knots, you can vary the result simply by changing the number of rows, the direction of the diagonal lines, or the length of the fringe.