Choose wire and gather your tools
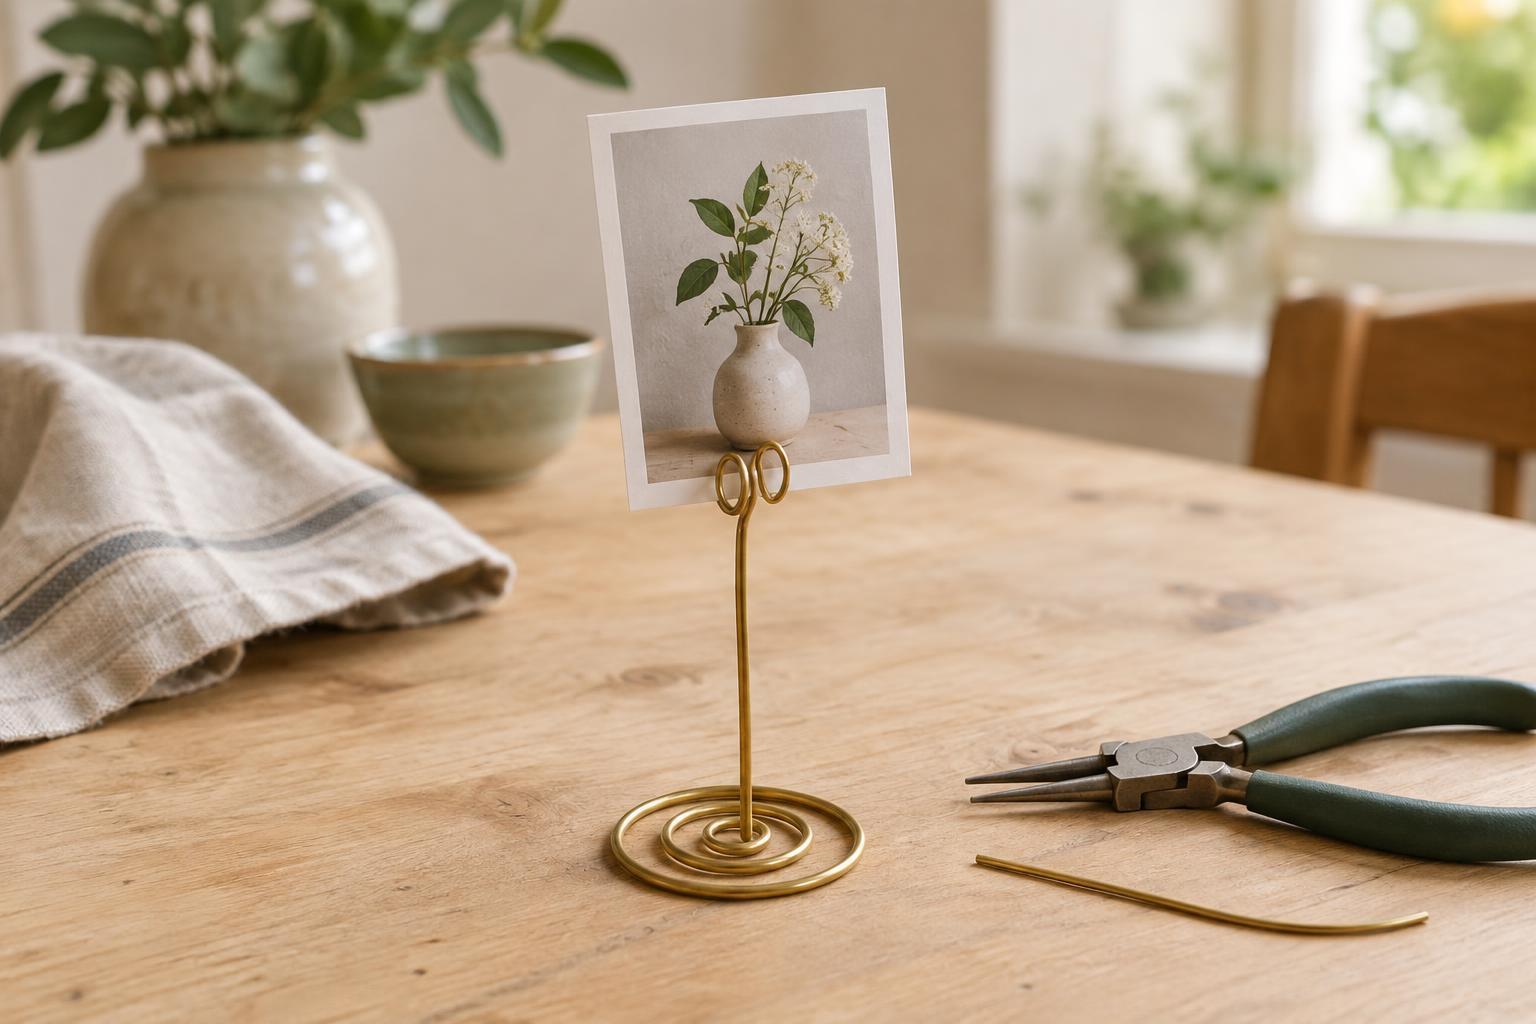
A wire photo holder is a useful first bending project because it can be made from one continuous piece. The design has three parts: a base that rests on the table, an upright stem and a small loop that holds the photo. Start with a lightweight print or postcard rather than a framed picture. Keeping the first version small makes it easier to judge whether the base is stable.
You will need craft wire, wire cutters and round-nose or needle-nose pliers. Flat-nose pliers are helpful for straightening sections and making firm bends. A ruler and a small piece of scrap paper can help you plan the proportions. Choose wire that bends with steady hand pressure but keeps its shape when released. Soft aluminum craft wire is easy to practice with; firmer wire may hold its form well but takes more effort to shape. If you are unsure, buy a short length and test a few bends before cutting the piece for your holder.
Cut a length of wire that gives you room to form both the base and the upper loop. It is easier to trim excess wire at the end than to extend a piece that is too short. Freshly cut ends can be sharp, so handle them carefully and keep them away from the surface of the photograph.
Shape a base that stands flat
Begin at one end of the wire and use the pliers to form a broad, flat spiral. Hold the short end with the pliers, bend the wire around it and continue the curve with your fingers. Aim for a loose spiral rather than a tightly packed coil: the wider footprint helps support the upright stem. Leave the other end of the wire long and straight for now.
Set the spiral on a level table and check that most of it touches the surface. If a section lifts, press it down gently with flat-nose pliers or your fingers. Next, bend the long end upward near the outer edge of the spiral. The stem should rise from the base without pulling it onto one side. If it leans, adjust the bend a little at a time instead of repeatedly twisting the whole piece.
The base does not have to be perfectly round. An open oval or a few broad bends can work, provided the wire rests securely and supports the weight above it. Before shaping the top, hold the intended photo beside the stem to decide how high you want it to sit. A shorter stem is usually easier to balance than a tall one.
Make the photo-holding loop
At the top of the stem, use round-nose pliers to bend the wire into a small loop. Continue the curve for another turn so that two sections of wire overlap, forming a narrow gap for the photo. Think of it as a loose spiral clip, not a tight clamp. The print should slide between the turns and rest there without being creased.
Test the gap with scrap paper first. If the paper falls out, bring the overlapping sections slightly closer. If it buckles as you insert it, ease them apart. Small adjustments are more useful than squeezing the loop shut in one motion. Turn the cut tip inward or tuck it behind the loop so it will not catch a finger or scratch a print. For a photograph you want to keep unmarked, place it in a protective sleeve or use a copy for display.
Put the photo in place and set the holder on a flat surface. If it tips forward, widen the base toward the front or tilt the stem back slightly. If it tips sideways, shift the loop until it sits more directly over the base. Adjust the holder with the photo in it, since the added weight can change its balance.
Finish and style the holder
Once the holder stands reliably, smooth any awkward kinks with pliers and check the cut ends again. Gentle curves often look more deliberate than a series of sharp corrections. If the wire becomes difficult to reshape or starts to weaken at a bend, it is better to cut a fresh length and repeat the shape than to keep working the same spot.
Place the finished holder where it will not be knocked easily, such as toward the back of a shelf or on a side table with some space around it. It can display a small photograph, a handwritten place card or a favorite postcard. Make a second holder using the same steps but a slightly different stem height for a relaxed grouping. The key is the same in each version: a base wide enough for the display, a stem that rises cleanly and a loop that holds the paper gently.