Choose the frame and prepare the surface
Gold leaf can make a plain picture frame feel like a decorative object in its own right. The most common frustration is a scattering of dark gaps, especially along inside edges and raised details. The remedy is not one large, perfectly placed sheet. It is careful preparation, small overlapping pieces and a final pass to fill missed areas.
Remove the glass, backing and artwork before you begin. A sound wood or already-painted frame is easier to gild than a surface with flaking paint or loose varnish. Clean away dust and grease, secure any loose finish, then lightly sand rough spots. Fill noticeable dents if you want a smooth result, and remove all sanding dust. For a porous or patchy surface, apply a suitable primer and let it dry according to its instructions.
A base coat close to the look you want beneath the leaf makes tiny openings less conspicuous. Warm ochre gives a traditional golden undertone; a dark brown can emphasize carved recesses. This is a visual choice, not a substitute for full coverage. Let the base coat dry thoroughly before applying adhesive.
Set up for delicate, manageable work
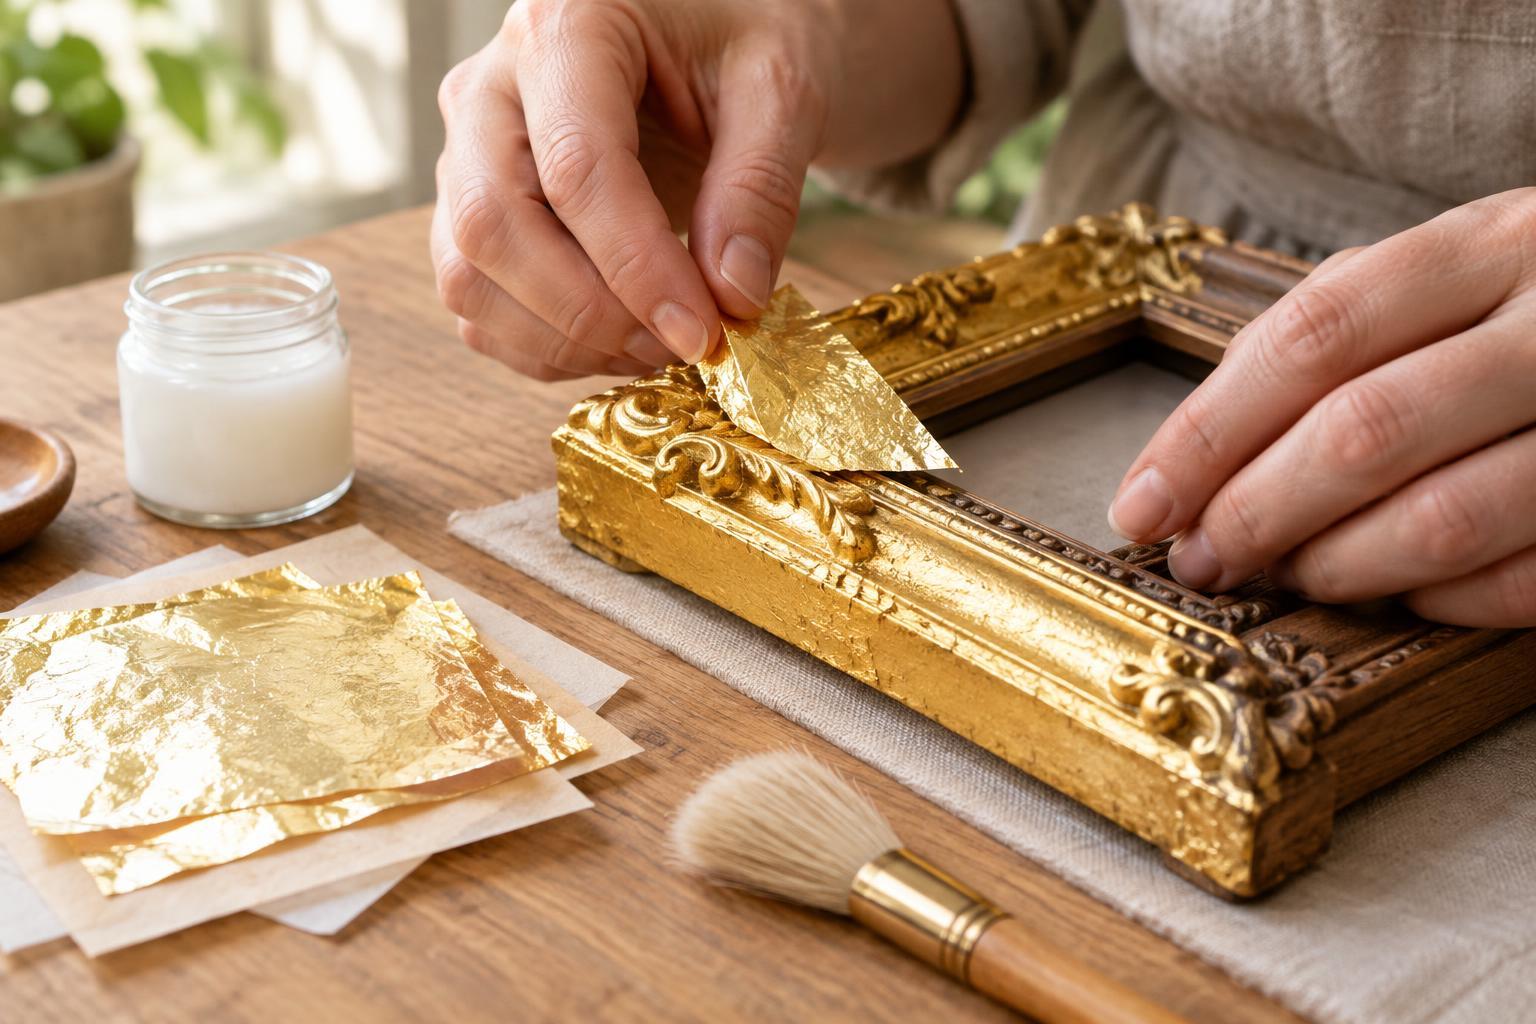
You will need leaf, gilding size, a small soft brush for the size, a larger clean soft brush for smoothing, and a dry work surface protected from drafts. Keep clean hands and tools: even a small amount of adhesive on a smoothing brush can pull leaf back off the frame. Imitation gold leaf is often convenient for a first project because its sheets are generally easier to handle. Genuine gold leaf is thinner and requires an especially gentle touch.
Decide whether to gild the entire visible frame or only its front face. If the inner edge will be seen next to the picture, include it in your plan; it is easy to overlook. For an ornate frame, work on one face or short stretch at a time. Avoid fans and open windows while placing leaf, since a light movement of air can fold a sheet before it reaches the frame.
Apply size evenly and wait for the right tack
Gilding size is the adhesive that holds the leaf. Choose a product intended for the type of leaf and surface you are using, and follow its directions for application and tack time. Brush on a thin, even layer, reaching into grooves and along the inside edge without leaving puddles. A thick ridge of size can show through the leaf or make it difficult to brush away loose fragments.
Do not place leaf on size simply because it looks wet. Many sizes need to become tacky first; the ready point varies by product and conditions. Check the maker’s guidance and test an inconspicuous spot. If you size only a manageable section, you can place the leaf while that section remains workable rather than rushing around the whole frame. Keep the frame flat where possible to make positioning easier.
Overlap the leaf around edges and details
Lay a sheet onto the tacky size gently, then press it down with a clean, dry, soft brush. Work from the broad front surface toward the profiles and edges, using light dabbing motions to guide the leaf into shallow details. Do not scrub: leaf tears easily, and rubbing can expose the base coat. On a carved frame, smaller pieces may sit more neatly than a full sheet forced over several changes of level.
Place each new piece so that it overlaps the previous one slightly. This is the simplest way to prevent a hairline gap between sheets. Pay particular attention to mitred corners, the lip nearest the artwork and any narrow side that will be visible when the frame hangs. You can tear pieces to a useful size before applying them, but keep a few larger pieces for broad, flat runs. Continue until every area that received size is covered.
Once the leaf has settled as directed for your size, gently brush away unattached excess. Save clean offcuts for repairs. Look at the frame from more than one angle under steady light: a recess that appears covered from the front may reveal bare paint from the side.
Patch gaps and finish the frame
For a missed spot, brush a small amount of size only onto the exposed area, wait until it reaches the proper tack, and press on an offcut of leaf with a little overlap. Treat corners and deep grooves as separate touch-up areas rather than repeatedly brushing the surrounding leaf. Let the repair settle before removing loose fragments. If you prefer an aged appearance, you can allow some base colour to show intentionally, but make that decision after checking for accidental gaps.
Follow the leaf maker’s guidance before adding a protective coat. Imitation gold leaf generally benefits from a compatible sealer to help protect its appearance, while a coating over genuine gold leaf may change its look and may not be needed for an indoor frame. Test any coating on a sample first. Allow the finished frame to dry fully before replacing the glass and artwork, so your careful gilding is not disturbed during reassembly.