Start with a base that stays flat
A mosaic coaster needs more than an attractive pattern. Its base must stay flat under a cup, support the weight of the tile and tolerate the occasional splash. Small, rigid, tile-ready bases are the simplest choice. If you use a wood blank, seal its faces and edges before adding tile; unsealed wood can absorb moisture and move beneath the grout. Avoid flexible cardboard or thin plastic, which may bend enough to crack the joints.
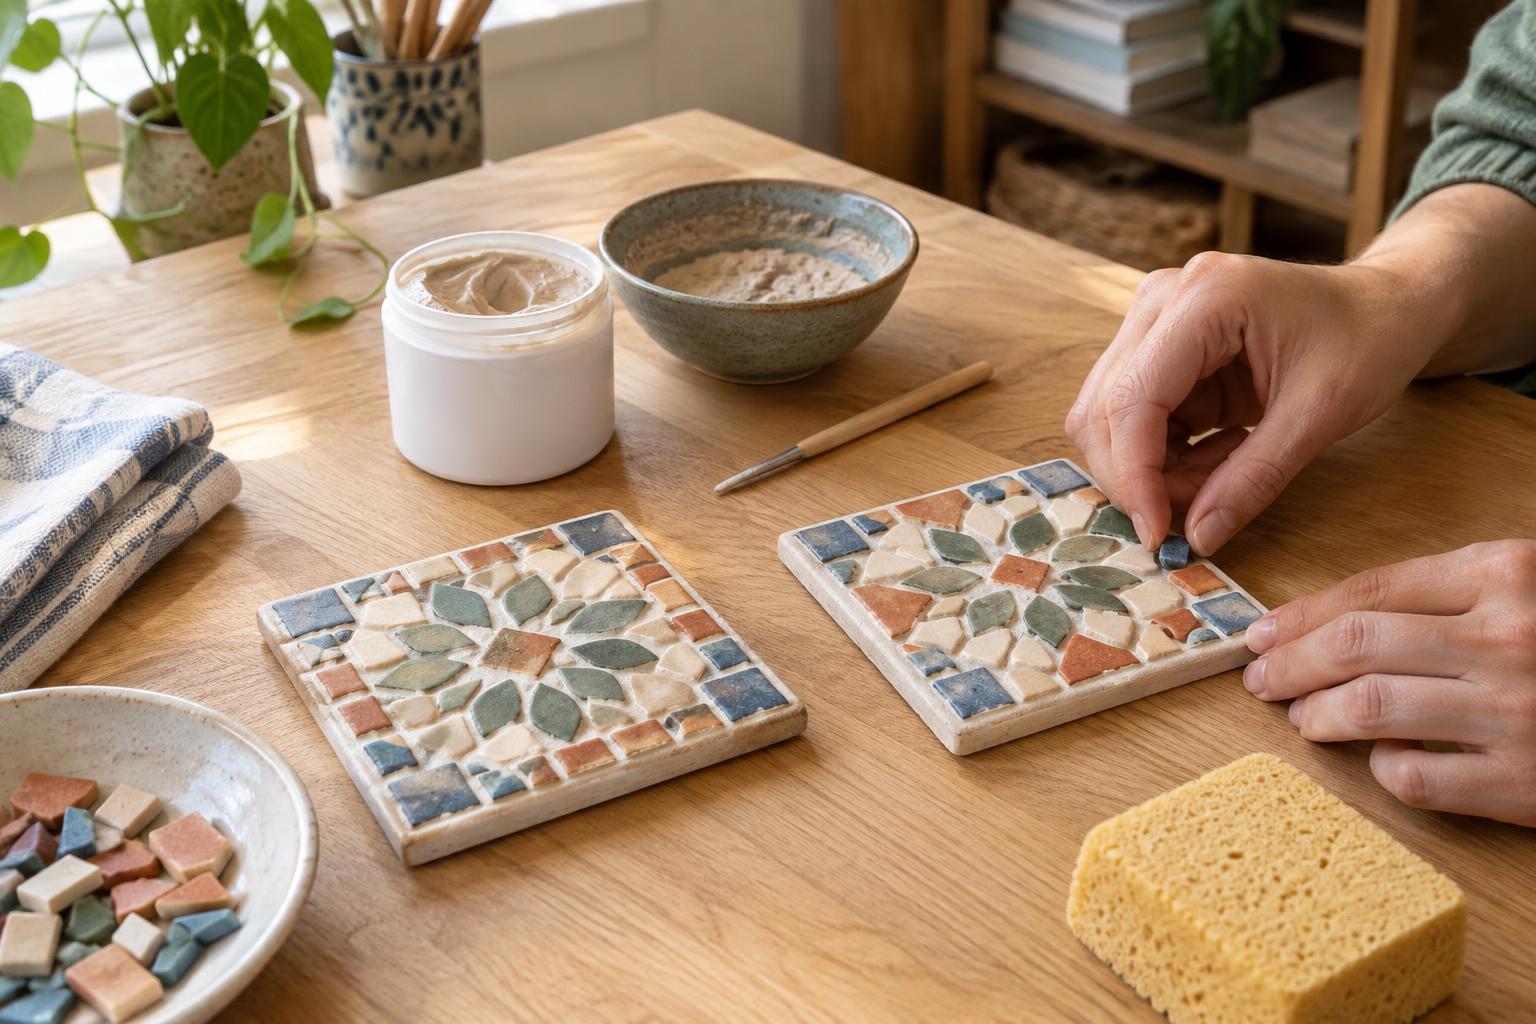
Gather small ceramic tiles or precut mosaic pieces, an adhesive approved for both the tile and base, grout suitable for the planned joint width, and a soft cloth or sponge. You will also need something to spread adhesive, such as a small craft stick. Check product labels for surface preparation, handling precautions and curing instructions. For a first coaster, choose pieces of similar thickness: a fairly level surface is easier to grout and less likely to make a cup wobble.
Plan the pattern and its spacing
Arrange the pieces on the dry base before opening the adhesive. A simple grid, border or loose geometric pattern is easier to control than a detailed image. Leave a narrow gap between pieces so grout has room to fill the joints, and keep that gap reasonably consistent across the coaster. Tiny offcuts can create awkward slivers of grout, so adjust the layout or swap in a larger piece where the pattern feels crowded.
Pay particular attention to the outer edge. Pieces should sit securely on the base rather than hanging beyond it, where they could catch on a hand or chip. Leave a modest margin if you want to see the base around the mosaic, or bring the tiles close to the edge for a fuller surface. Either approach can work; consistency will make the finished coaster look intentional. Take a photo of the dry arrangement if you expect to move the pieces while working.
Choose and apply the adhesive
Adhesive is not interchangeable across every tile and base combination. Choose a product whose label lists your tile material and substrate, and check whether it is appropriate for an item that may meet condensation. A thick, uneven bed can let pieces slide or sit at different heights. Spread a modest amount over a small area, then press each piece into place without forcing adhesive up into the gaps. If it does rise between tiles, remove the excess before it hardens so grout can occupy the joint.
Work from one side of the coaster to the other, referring to your dry layout as you go. Keep the top faces clean with a lightly damp cloth, taking care not to shift the pieces. Then leave the mosaic undisturbed until the adhesive has cured as directed by its manufacturer. Grouting too early may loosen tiles or trap moisture beneath them.
Grout the joints without covering the design
Select grout that suits your joint width and tile surface, following the product guidance. Some textured or porous tiles can hold grout in their surfaces; testing a spare piece first can help you decide how carefully to clean them. If mixing dry grout, follow the package directions rather than adding water by eye. Wear gloves, avoid breathing the powder and work in a ventilated space.
Press grout across the mosaic from several directions to fill the gaps, then scrape away the bulk of the excess. As the grout begins to firm according to its instructions, wipe the tile faces gently with a barely damp sponge or cloth. Rinse the sponge often, but do not flood the coaster or drag grout out of the joints. A light haze may remain on the tiles; buff it away with a soft, dry cloth when the grout is ready for cleaning. Check the edges as well as the top so no sharp ridges remain.
Finish for everyday use
Let the grout cure fully before putting the coaster into service. If the grout manufacturer recommends a sealer for spill resistance, use one compatible with your materials and follow its directions. Sealer can help with cleanup, but it does not turn a coaster into a waterproof object. Wipe up spills, avoid soaking it and let it dry between uses.
Once the underside is clean and dry, add a thin cork or felt backing, or small protective pads, to keep the base from scratching a table. Set the finished coaster on a flat surface and test it with an empty cup. If the cup rocks, note which tile sits high; on a future coaster, using more evenly sized pieces and a thinner, more consistent adhesive layer will help. The best mosaic coaster is not necessarily the most intricate one. A stable base, secure tiles and tidy joints make even a simple pattern satisfying to use.