Look at the finish before reaching for polish
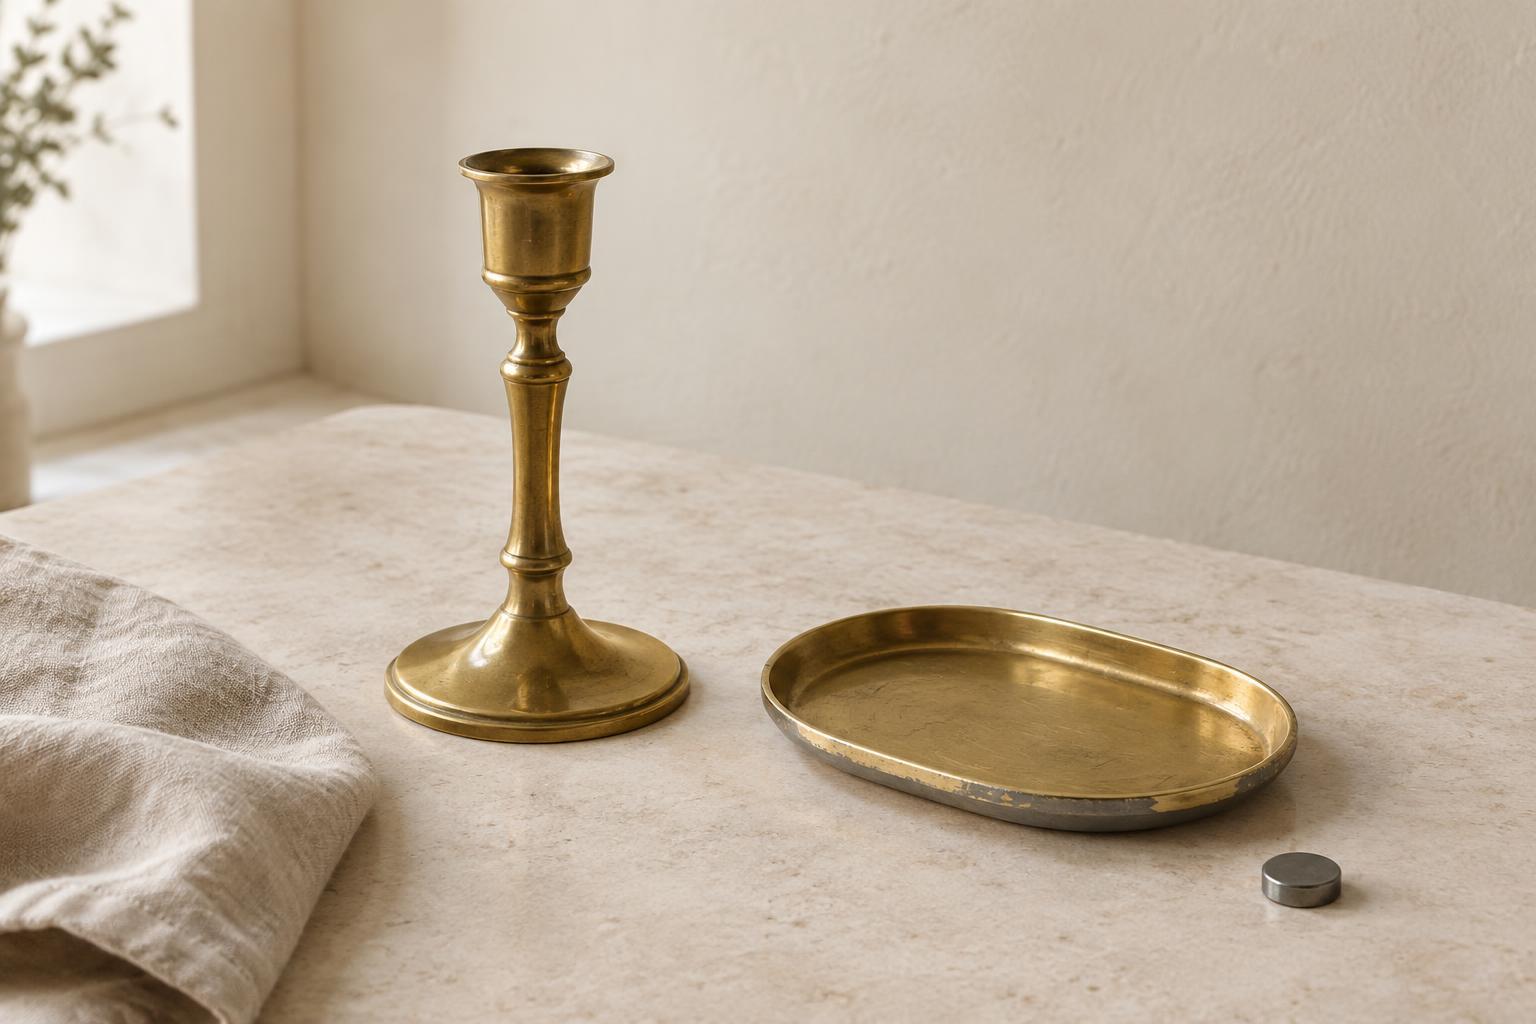
Brass develops a darker surface as it reacts with its surroundings. On some decorative objects, that change looks uneven or dull; on others, it is part of the character of the piece. Cleaning away dust and fingerprints is not the same as removing tarnish, so decide which result you want before you begin.
Check whether the object is solid brass, brass-plated, lacquered or intentionally patinated. A plated piece has a thin brass layer that can wear through with vigorous polishing. Lacquered brass has a clear protective coating; tarnish beneath that coating cannot be reached by ordinary cleaning. A deliberately darkened finish may have lighter edges and recesses that were designed to contrast. If you are unsure what you have, start with the least aggressive method and test it on a small, inconspicuous area.
Pay particular attention to older objects, pieces with painted details, and items made from several materials. Wood, felt, stone and glued ornaments may not tolerate water or metal polish. If a piece is valuable to you or its finish is already flaking, it may be better to leave the patina intact than risk changing it.
Begin with a gentle clean
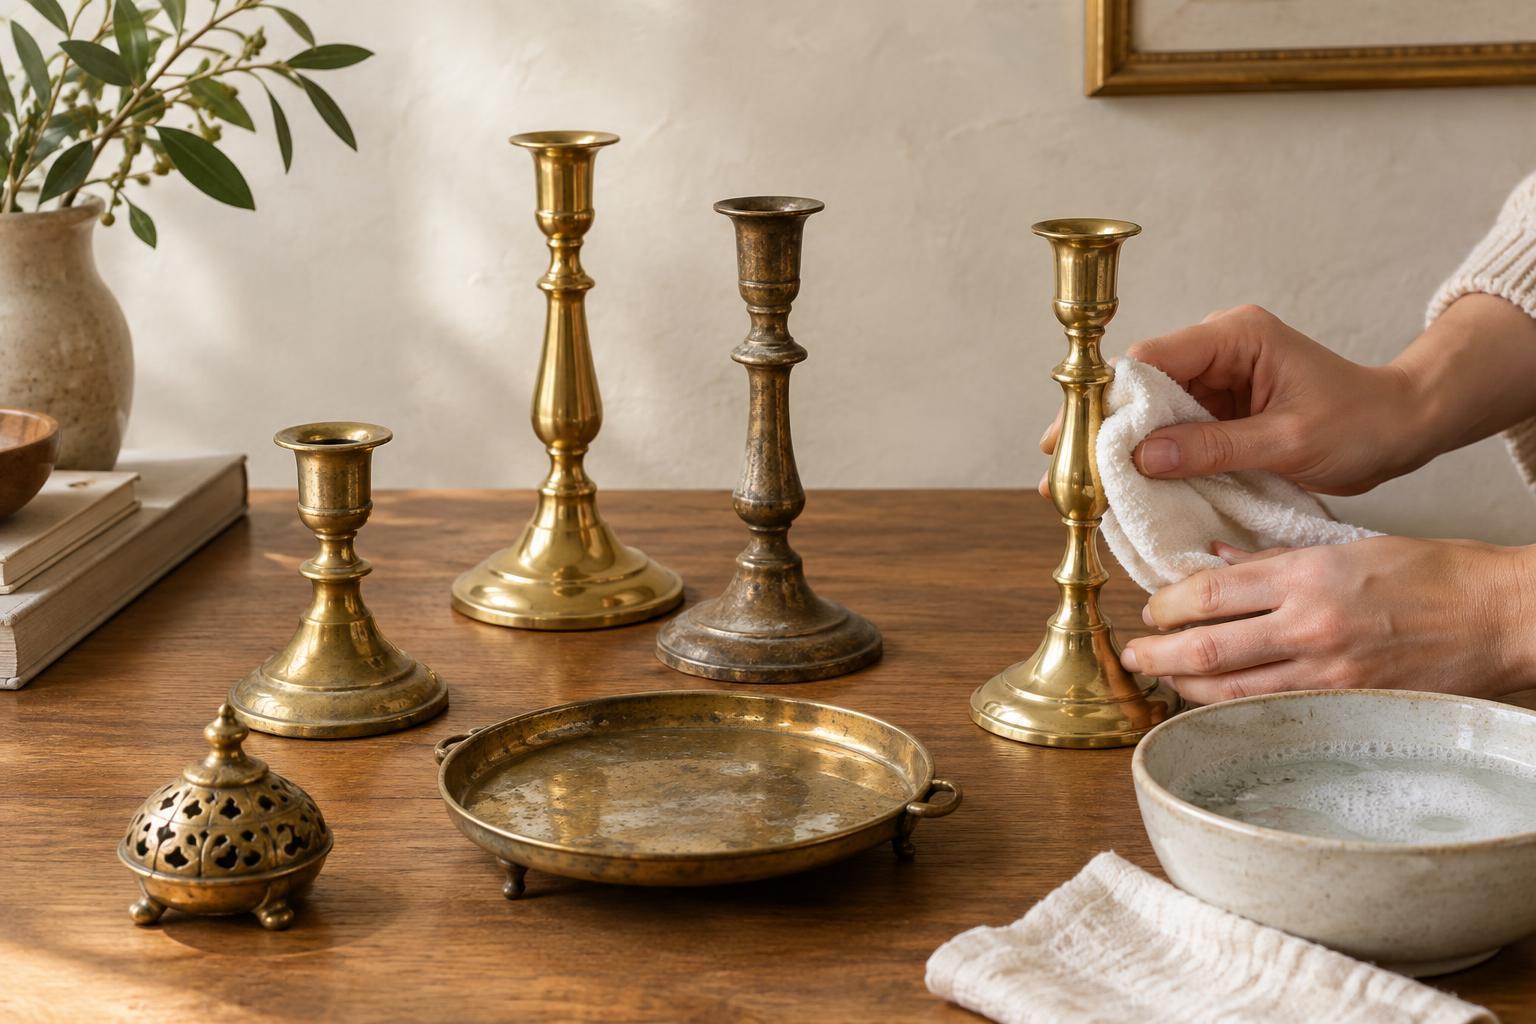
Remove loose dust with a soft, dry cloth or a clean, soft brush. For a sturdy brass object with no vulnerable inserts, dampen a cloth with lukewarm water and a small amount of mild dish soap. Wipe the surface rather than soaking the object, paying attention to fingerprints around handles, rims and bases.
Use another cloth lightly dampened with plain water to lift away soap residue, then dry the object thoroughly with a soft towel. Water left in seams or decorative grooves can cause spotting, so a dry brush or cloth corner is useful for those areas. Avoid immersing hollow objects: trapped water can be difficult to remove.
Stop here if the surface looks clean and you like its color. A lacquered object often needs no more than this treatment. If it still has dark patches, do not assume that stronger scrubbing will help; the marks could be under a coating or part of the intended finish.
Polish only suitable, uncoated brass
If you are confident the object is uncoated solid brass and want a brighter appearance, use a polish labeled for brass, following its directions. Apply a small amount to a soft cloth, test an unobtrusive spot, and work gently over one section at a time. Use light pressure around raised patterns, engraved lines and sharp edges, where repeated rubbing can alter the appearance.
Remove polish from crevices as directed by the product and buff with a clean, soft cloth. Keep polish away from nonmetal parts, and wash your hands after use. Work in a ventilated space, and do not combine cleaning products. Homemade acidic mixtures are often suggested for brass, but they can be difficult to control on plated, coated or mixed-material objects. A cautious spot test and a product suited to the known finish are more reliable than trying to strip stubborn discoloration quickly.
If polishing makes a spot look patchy, exposes a different-colored metal or lifts a clear film, stop. Those changes can indicate plating or a damaged coating. More pressure is unlikely to restore an even finish.
Keep the finish looking the way you want
After cleaning, handle the piece with clean, dry hands and display it away from repeated splashes and damp surfaces. A soft cloth used regularly for dusting and fingerprints can reduce the need for more thorough cleaning. For brass trays or candlesticks in frequent use, place a protective pad beneath them to help prevent scratches to both the object and the furniture.
You do not need to keep every brass accessory mirror-bright. A warm, mellow surface can suit a shelf or table arrangement as well as a freshly polished one. The practical goal is to remove grime without erasing details or wearing down the finish. When the object's construction is uncertain, gentle cleaning and leaving some tarnish in place is usually the safer choice.