Choose a manageable design and prepare the box
A wooden box is a useful first decoupage project because its flat faces are easier to cover than curved objects. For the smoothest result, start with one panel, such as the lid, rather than wrapping a single sheet over corners and hinges. Decorative napkins, tissue and thin printed papers can all work, but they behave differently when wet. Thin paper blends neatly into the surface yet tears easily; sturdier paper is easier to place but leaves a more noticeable edge. Test your chosen paper and adhesive on a scrap of wood if you have them.
Remove any hardware that comes off easily, or protect it from glue. Lightly sand rough wood and sharp splinters, then wipe away the dust with a clean, dry cloth. Fill obvious dents if you want a level finish. Bare wood can absorb adhesive unevenly, so coat the area with a suitable craft sealer or primer and let it dry according to its directions. If the paper is translucent, paint the panel a light, even color first; the color beneath may otherwise show through.
Cut the paper and set up your work area
Measure the panel and cut your design before opening the glue. Leave a small margin if you plan to trim the edges after drying. For a napkin, separate the printed layer from its plain backing layers. Check the placement on the dry box, paying attention to which way the image will face when the lid opens. A design made from several smaller pieces is often easier to control than one large sheet.
Keep a soft brush, decoupage adhesive, clean hands, a dry cloth and a piece of smooth plastic film or a flexible plastic sheet within reach. Protect the table with a wipeable covering. Have a place ready where the box can dry undisturbed, with its lid open so adhesive does not accidentally join the lid and base.
Apply a thin coat and lower the paper gradually
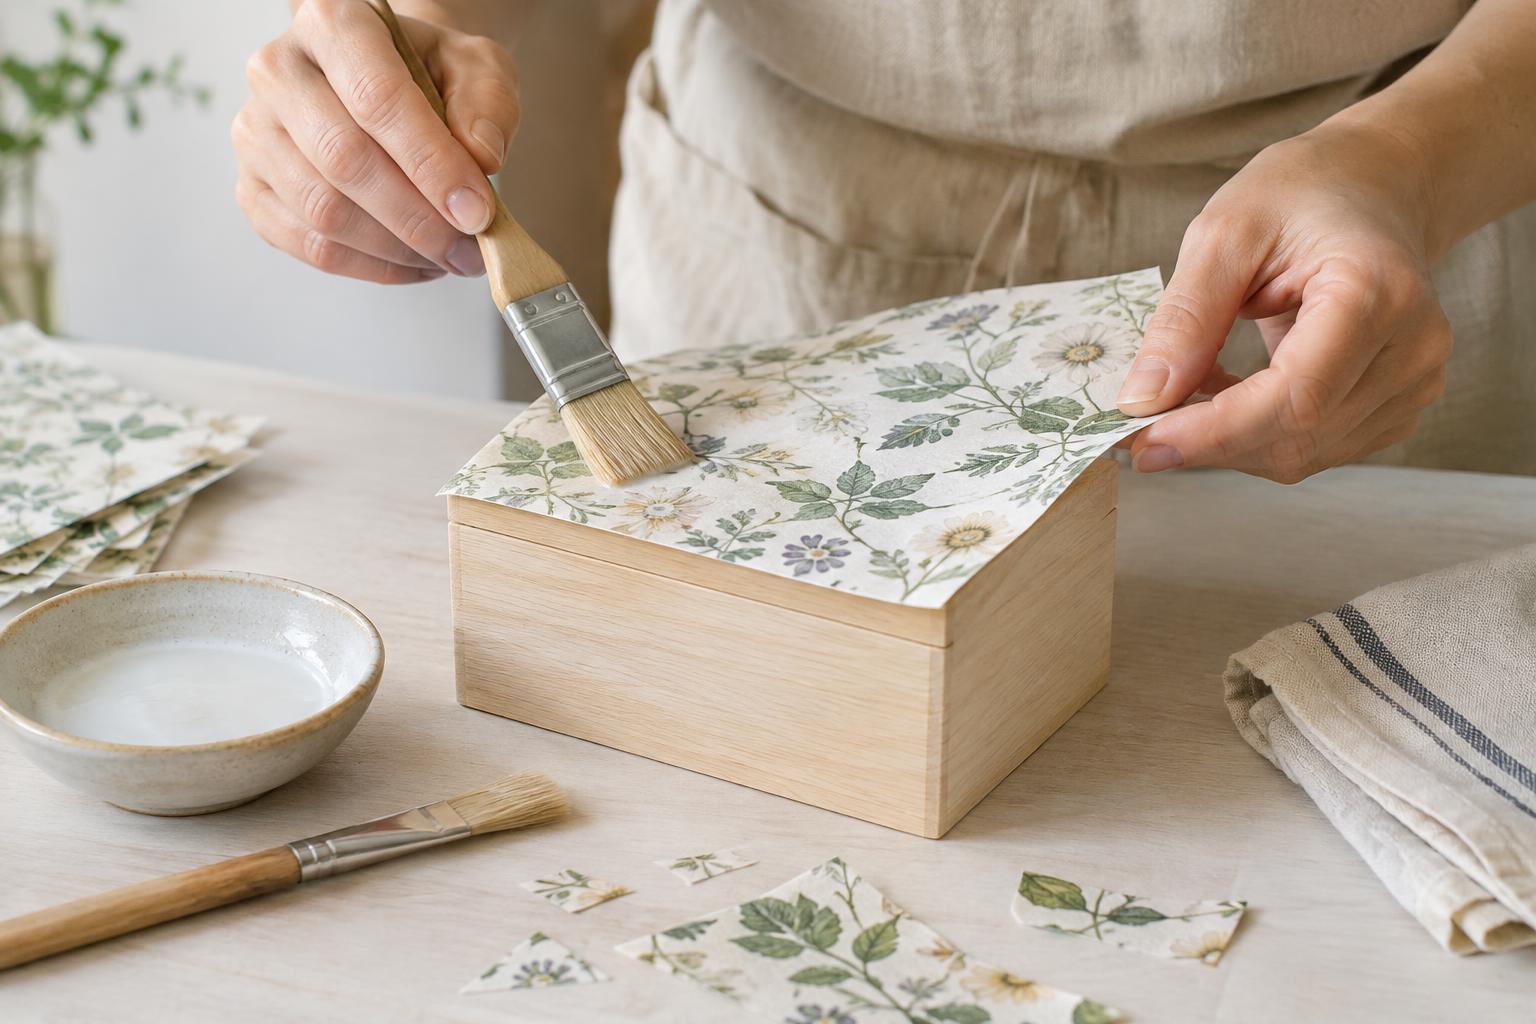
Brush a thin, even layer of decoupage adhesive onto one panel. Cover the whole area, especially near the edges, but avoid puddles: excess moisture can make paper expand, buckle or slide. If you are covering a large lid, work in sections so the adhesive does not dry before you reach the far side. Follow the adhesive maker’s directions for any recommended working or drying times.
Align one edge of the paper and lower the rest gradually rather than dropping the entire sheet at once. Gently smooth from the center toward the outer edges to guide trapped air out. For fragile tissue or napkin, lay smooth plastic film over the design and smooth through it with your fingertips or a soft cloth. This reduces the chance of catching and tearing the wet paper. Lift the film slowly. Use light pressure; pressing hard can stretch a damp sheet and create wrinkles.
Handle bubbles and edges without overworking them
If you spot a bubble while the adhesive is still workable, gently lift the nearest loose edge and lower the paper again, smoothing toward that edge. A small amount of adhesive beneath a dry-looking spot may help it settle. Resist repeatedly brushing across the top of wet, thin paper. It becomes easier to tear as it absorbs moisture, and an area that looks slightly raised while damp may flatten as it dries.
At corners, avoid forcing a large sheet to bend neatly in several directions at once. Trim the paper to the edge of the panel, or cut small relief slits in an overhanging margin before folding it under. Smooth each flap separately and check that its edge has enough adhesive to hold. Keep paper and glue clear of the lid seam, latch and hinges so the box can still open and close.
Let it dry, then protect the finish
Leave the box alone until the adhesive is fully dry. Trimming too soon can pull at the design. Once dry, use a sharp craft knife to trim overhanging paper along an edge, cutting away from your fingers. If a paper edge feels raised, smooth it gently with fine sandpaper, taking care not to scuff the printed surface. Brush away the dust before adding a protective coat.
Apply thin coats of a clear finish compatible with your adhesive, letting each coat dry as directed. Several light coats are easier to keep even than one heavy coat. Pay particular attention to exposed paper edges, but avoid letting finish pool around hardware or along the lid seam. A decoupaged box is best treated as a decorative object: wipe it with a lightly damp cloth when needed rather than soaking it. The result should feel smooth, with the design firmly attached and the box still easy to use.