Choose plates for the wall, not just the table
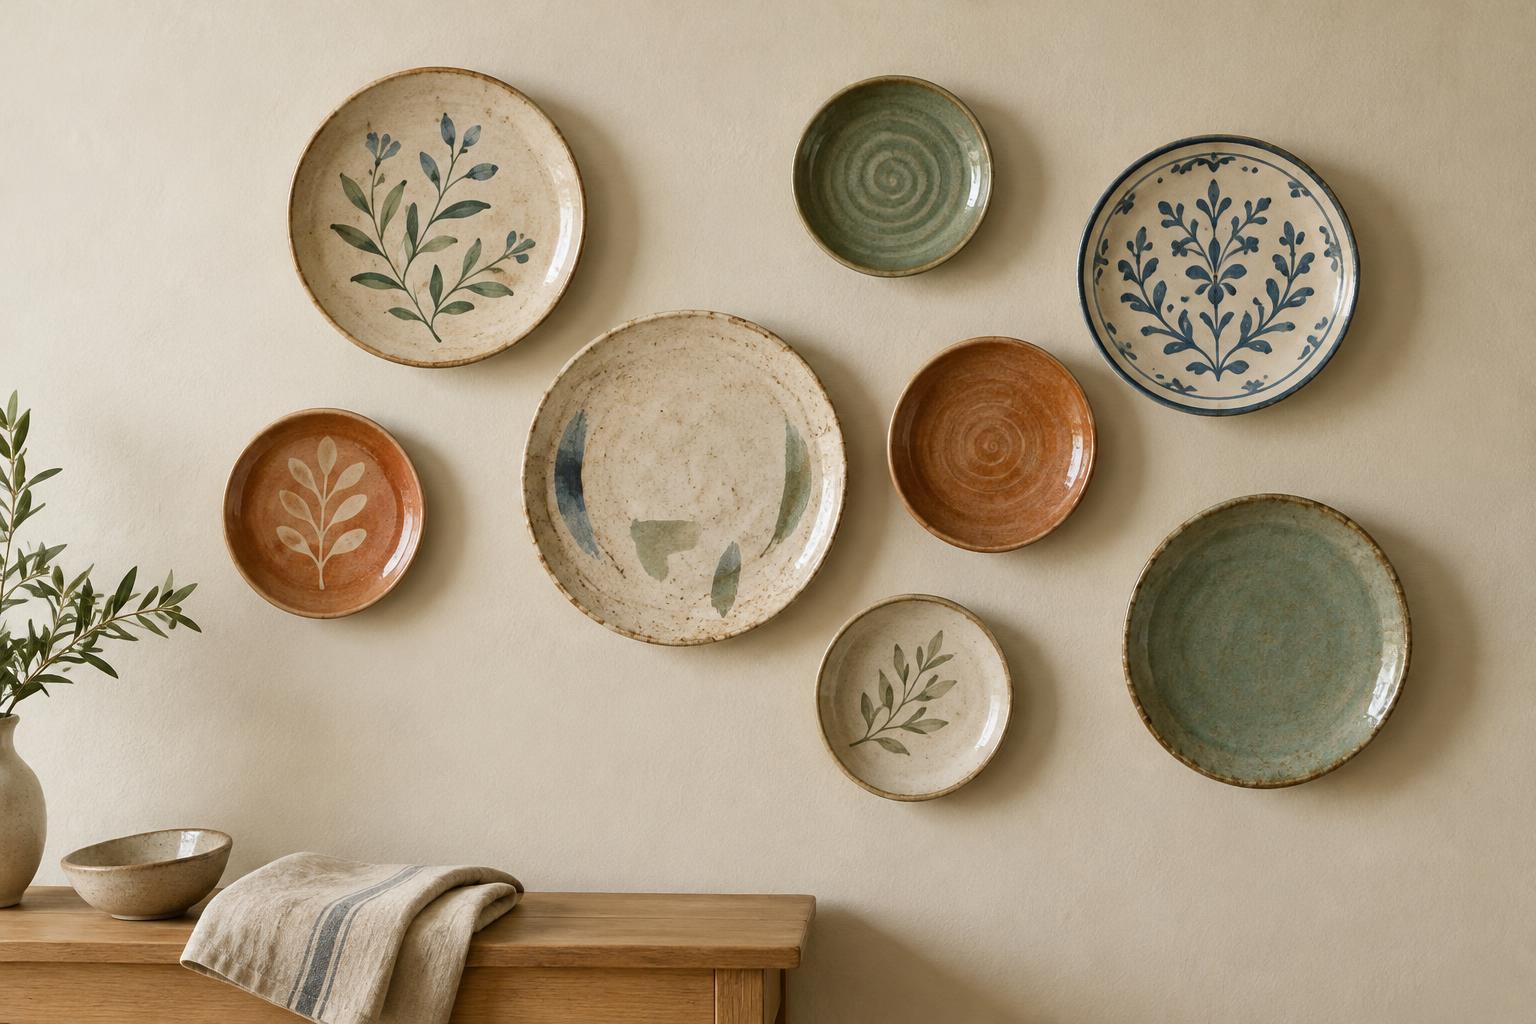
A plate wall works best when every piece has a reason to be there. You might group ceramics by a shared glaze color, repeat one shape in several sizes, or bring together varied pieces with a similar handmade character. Lay the plates on a table first. This makes it easier to notice whether one bold pattern overwhelms the others or several pale plates disappear beside it.
Before planning the layout, inspect each plate. Look closely at the rim, foot and back for chips, cracks or old repairs. A plate with damage may still be attractive, but hanging hardware can put pressure on vulnerable areas. Set aside pieces that feel unusually heavy, have an uneven rim that a hanger cannot grip securely, or are too precious to risk in a busy spot.
Plan the arrangement at full size
Choose a wall where people are unlikely to brush against the ceramics while passing, opening a door or pulling out a chair. Consider what sits beneath the display, too. Above a narrow console, a compact group can feel connected to the furniture; across a broad empty wall, the same group may look scattered. For more ideas on arranging the surrounding space, browse Flexible Furniture · Practical Spaces.
Trace each plate onto paper, cut out the shapes and tape them to the wall with removable painter’s tape. Mark each cutout so you know which plate it represents. Start with the largest or most visually prominent piece, then adjust the others around it. Similar gaps can make a mixed collection feel deliberate, while a loose cluster can suit plates of varied sizes. Step back and look from the doorway as well as from close range before marking any hanging points.
Match the hanger to the plate
Some decorative plates have a built-in hanging loop or a molded feature intended for display. If yours does not, choose a plate hanger suited to its dimensions and weight. Spring-style hangers grip the rim, but their visible clips may be more noticeable on a plain plate than on a patterned one. Check that each clip sits firmly without slipping and does not press on a chipped or delicate edge.
Avoid assuming a flat back makes a plate suitable for an adhesive hanger. Adhesion can vary with glaze, surface condition and application, and failure may damage both the ceramic and anything below it. Follow the hanger maker’s instructions, including any weight limit. Whatever hanger you select, test its fit over a padded surface before bringing the plate to the wall.
Secure the wall attachment
A secure plate hanger is only one part of the setup: its hook or fastener also needs to suit the wall. Plaster, drywall and masonry call for different attachments, and a fastener should be appropriate for the combined weight of the plate and hanger. If you are unsure what is behind the wall or which fixing to use, ask someone familiar with that wall type rather than guessing. Check for possible hidden utilities before drilling.
Install the wall attachment at the point required by the hanger, which may not line up with the plate’s top edge. Hang one plate at a time, then gently check that it sits level and cannot lift off with a light touch. Keep the area below clear during installation, and work over a soft surface when fitting hardware to a ceramic piece.
Keep the display easy to live with
Plate displays collect dust, especially along rims and around clips. Use a soft, dry cloth or brush for routine cleaning, and hold each plate steady rather than pushing against it on the wall. If a piece needs a more thorough clean, take it down first and use a method appropriate to its finish. Painted details, metallic decoration and repaired areas may need gentler handling than a plain glazed surface.
Occasionally check that clips, hooks and wall attachments still feel secure. Recheck after moving furniture or changing the arrangement, when a plate might have been bumped. A display need not be permanent: keeping a simple paper record of which hanger fits each plate makes it easier to rotate pieces without repeatedly testing hardware on fragile edges.