Start with a purpose and a limit
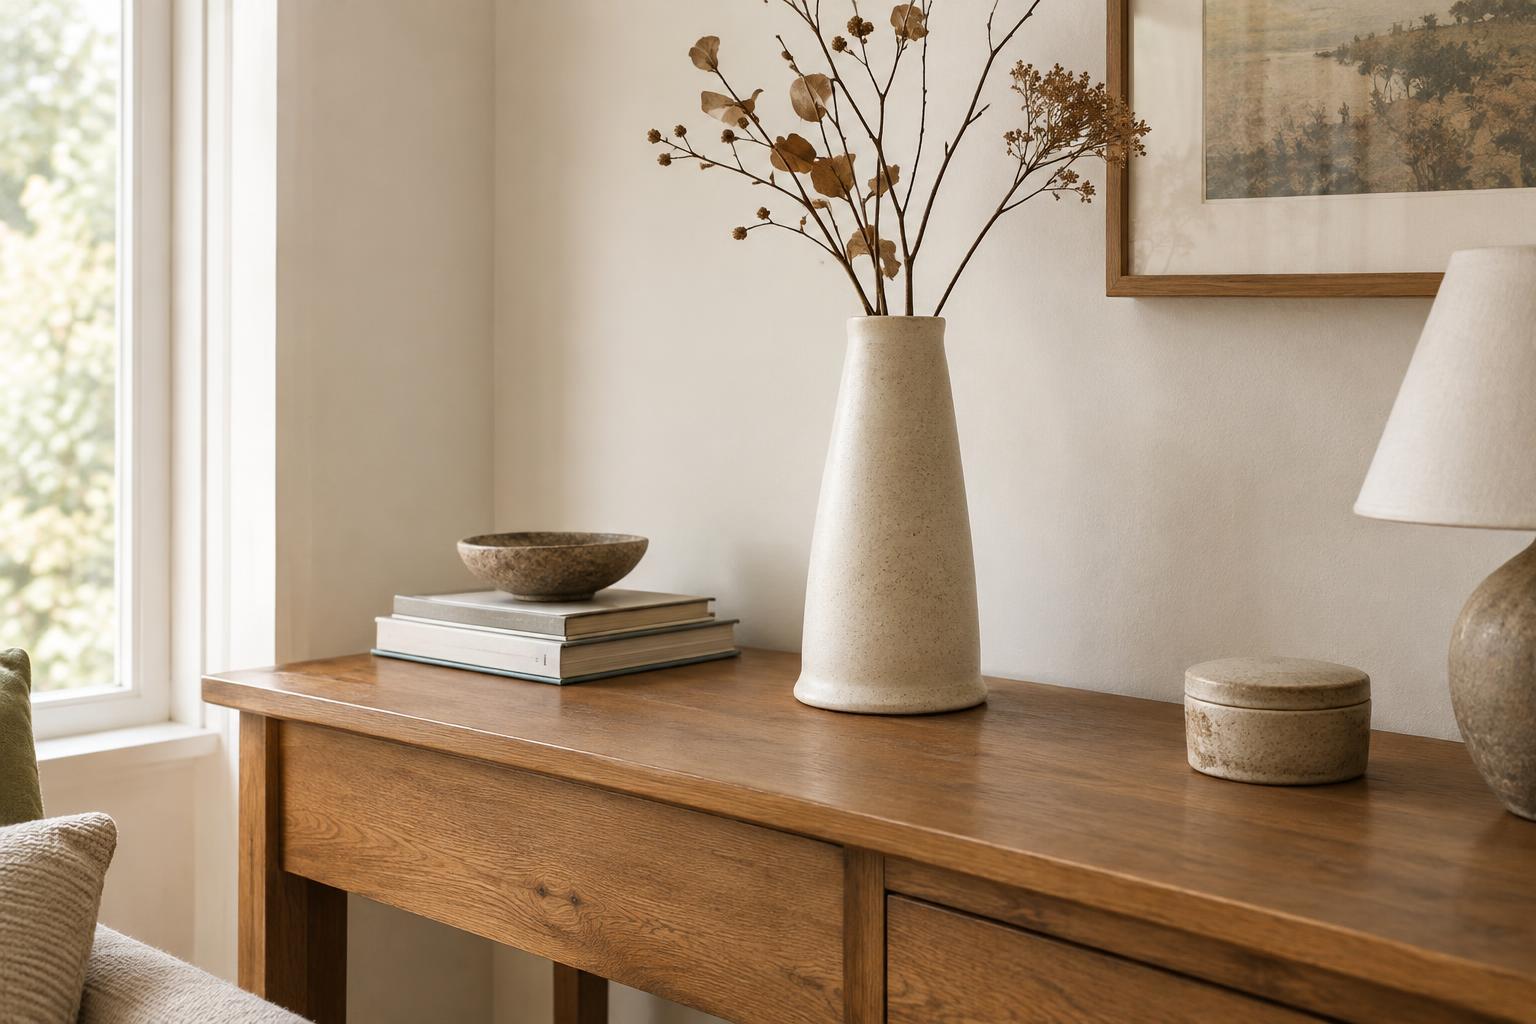
A decorative accessory swap gives objects that no longer suit one room a chance to work in another. It is most manageable when the focus is narrow: tabletop pieces, small vases, trays, candle holders or shelf ornaments, for example. Before inviting anyone, decide how many objects each person may bring and whether taking something home requires contributing an item. A modest limit makes it easier to see everything and keeps the gathering from becoming an unplanned clear-out.
Ask participants to bring clean, usable pieces they would feel comfortable giving to a friend. Exclude anything with sharp damage, unstable parts or a condition that needs lengthy explanation. If you include electrical or candle-related accessories, agree in advance how they will be handled; a simpler first swap can leave them out altogether. For ideas on approaching hands-on interests as leisure activities, browse Hobbies and Recreation · Life After Service Journal.
Prepare pieces so others can assess them
Wipe each object using a method suitable for its material, then let it dry completely before packing. Check for chips, loose joints, wobble, stains and missing components. A small note can identify the material if you know it and describe a limitation, such as “decorative only” or “not tested for holding water.” Avoid guessing about age, origin or value. Clear descriptions let someone choose an item for the way they intend to use it.
Pack fragile objects separately, with cushioning between surfaces that could knock together. At the swap, lay pieces on a stable table with enough space to lift one without disturbing its neighbors. Keep heavier objects away from the edge and place any item with a delicate finish on a soft, clean surface. Good lighting helps people notice texture and condition; it also makes browsing more pleasant than digging through boxes.
Make choosing fair and unhurried
Explain the process before anyone starts selecting. One option is to let everyone look first, then take turns choosing a single piece; repeat until people are finished. Another is to allow open browsing after a short viewing period. Either approach works better when participants know that taking nothing is acceptable. The aim is to find a useful new place for an object, not to ensure that every person leaves with the same number of things.
Offer a measuring tape and encourage people to think about a specific shelf, side table or entryway before choosing. A striking vase may be less appealing once its height blocks a picture, while a modest dish might be just right for keeping small objects together. If you want to explore the social side of shared activities beyond this project, browse Community Participation · Life After Service Journal for community-focused reading.
Bring home only what has a place
Before committing to a piece, picture where it will sit and what will surround it. Check its footprint as well as its height, and consider whether the surface underneath needs protection. A felt pad may help prevent a rough base from marking furniture; a shallow tray can contain an object that tends to shed small bits. If a piece needs repair or supplies you do not already have, decide whether that extra task is one you genuinely want.
Agree beforehand on what happens to objects no one chooses. Their owners might take them back, or volunteers might arrange a suitable donation where accepted. Do not leave the decision for a tired host at the end of the gathering. Once home, try your chosen piece in its intended spot for a few days before rearranging an entire display around it. Readers interested in a broader range of life-after-service topics can also browse Life After Service Journal.