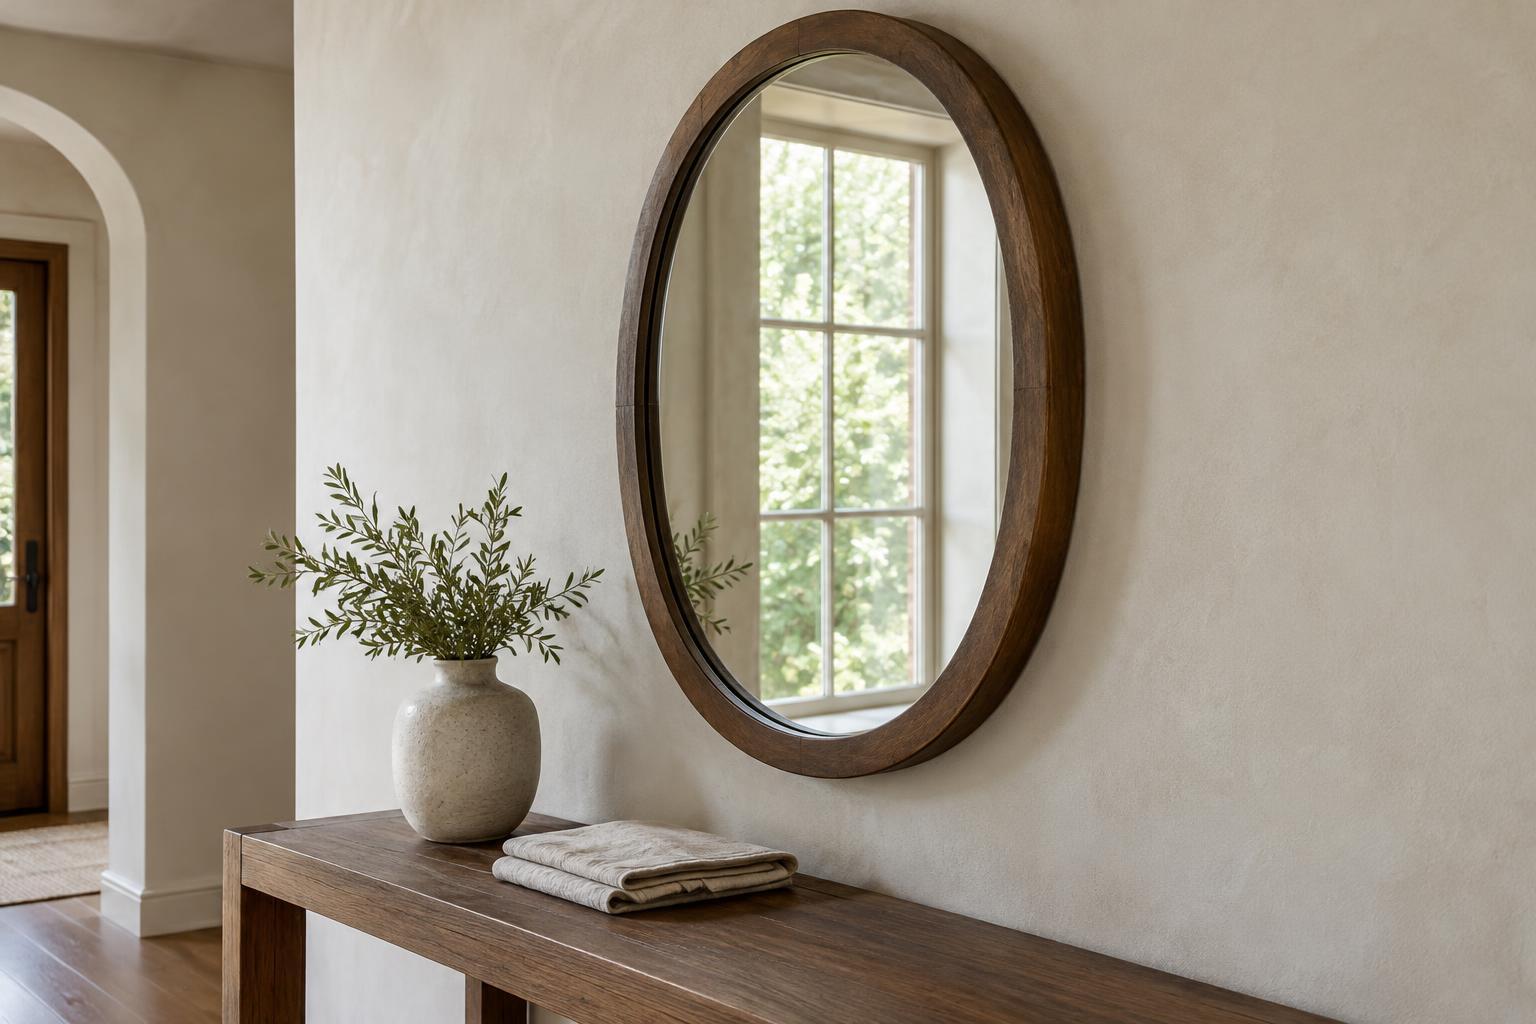
Start with the mirror, not the wall
A decorative mirror can make a room feel brighter and give a console, mantel or hallway a focal point. Unlike a lightweight print, though, a heavy mirror puts substantial force on its hanging points. Before choosing a position, find its weight in the product information or weigh it carefully. Check the frame for loose corners, cracks or movement, and inspect every D-ring, bracket or rail. Hardware attached to a weak frame cannot hold it safely, even if the wall fixing is strong.
Follow the mirror maker’s hanging instructions where available. Some mirrors are designed for a particular orientation or a supplied cleat; turning them or replacing the hardware may change how the load is supported. Do not assume that a picture wire is suitable simply because two rings are fitted. For a heavy mirror, two appropriately rated hanging points or a manufacturer-approved cleat can provide more stable support than a single hook, provided the frame is designed for that arrangement.
Choose a position and identify the wall
Hold a paper template or taped outline against the wall to judge the height and spacing before drilling. Leave room for doors, furniture and hands to reach the mirror during installation. In a busy passage, consider whether someone could bump the frame; in a bathroom or other damp area, check that both the mirror and its hardware are suitable for that setting.
Next, identify what the fixing will enter. Timber studs behind plasterboard, solid masonry, and older plaster over lath call for different fasteners and installation methods. A stud finder can help locate framing, but confirm readings according to the tool’s instructions. Check for possible cables and pipes before making holes, particularly near outlets, switches and plumbing. If you cannot establish what is behind the chosen spot, pause rather than drill on a guess.
Match the fixings to the whole installation
The safe load depends on more than the number printed on a hook packet. Wall material, the condition of that material, the fastener, how it is installed, and the mirror’s own hardware all matter. Fixing into sound structural framing is often a straightforward option where its location suits the mirror. For a hollow wall or masonry surface, use anchors specifically intended for that material and follow their instructions for hole size, wall thickness, spacing and load. An anchor rated for one wall type should not be treated as a universal solution.
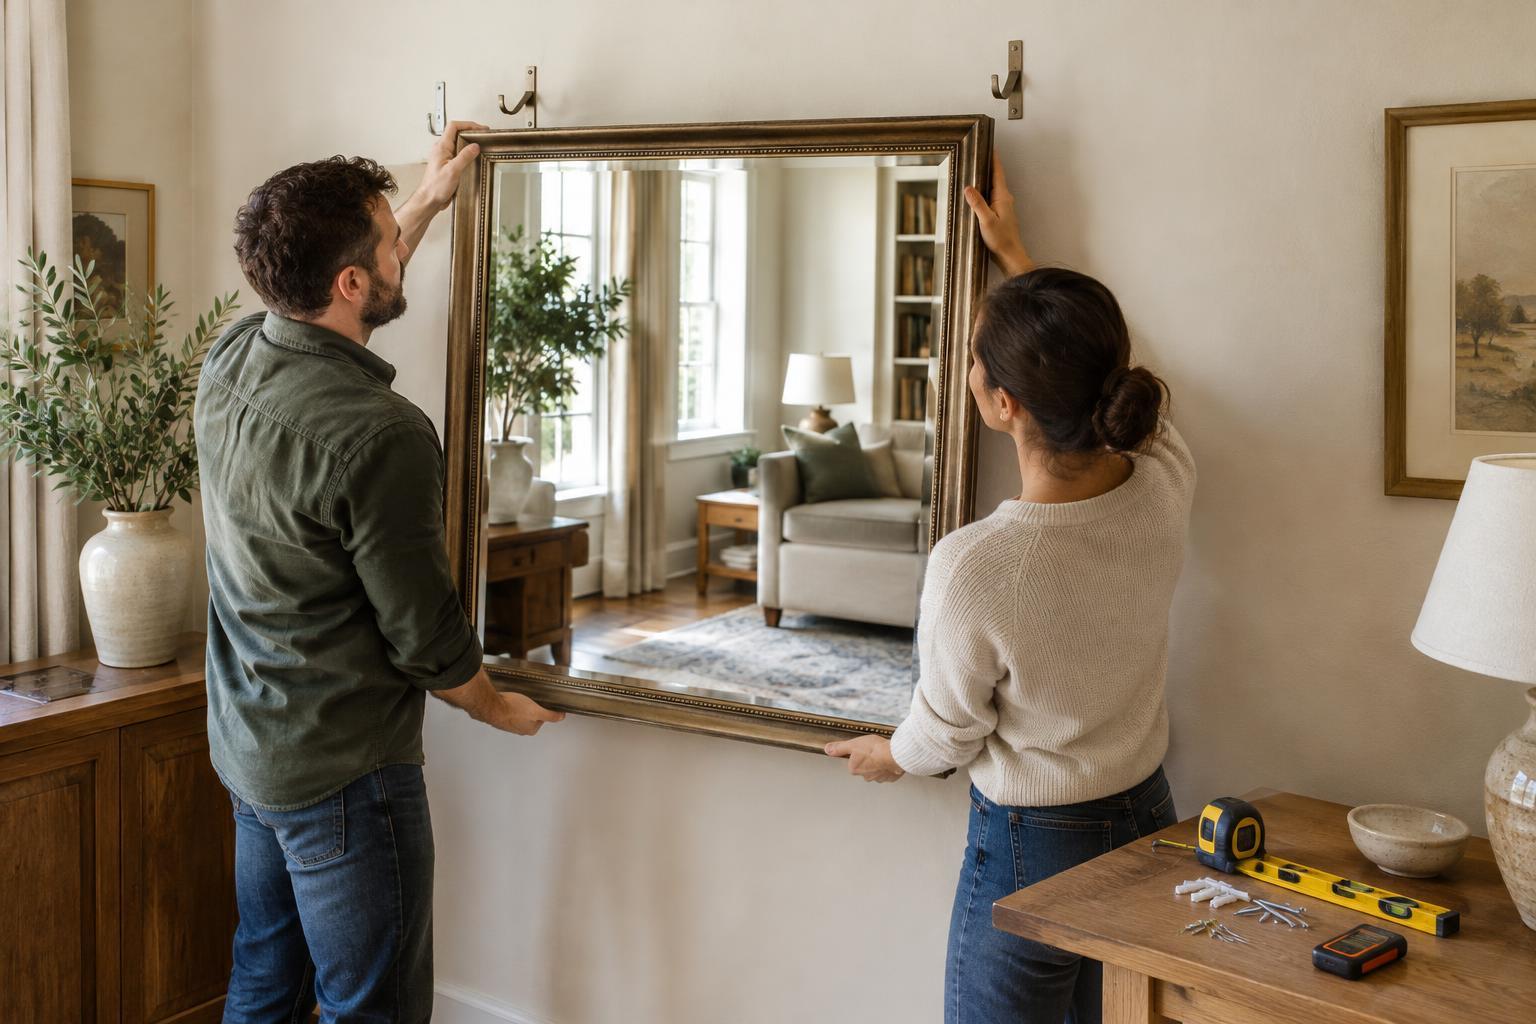
Plan the position of both hanging points from the actual measurements on the mirror, rather than estimating from its outer edges. Use a level to mark a horizontal line, then mark the fixing locations at the required spacing. If one side will attach to a stud and the other needs a different anchor, make sure each fixing is suitable for its share of the load and for the way the mirror hangs. When the wall is crumbly, the mirror is exceptionally large, or the hardware and wall ratings are unclear, seek help from a qualified installer.
Install and lift without rushing
Prepare the area before drilling: move fragile objects, protect nearby furniture and keep the floor clear. Install each fixing exactly as its maker directs. Screws should engage as intended, and anchors should sit firmly without spinning or pulling free. Do not use a damaged hole as though it were sound; repair the surface or choose an appropriate new fixing location.
Arrange for another adult to help lift a mirror that is awkward or heavy. Wear footwear that protects your feet, grip the frame securely rather than lifting by its hanging wire or ornaments, and keep the glass upright. One person can support the weight while the other guides the hardware onto the fixings. Check that both sides have seated fully before gradually releasing your hold. Avoid letting the mirror rest on one hook while searching for the other.
Check the result and revisit it
Once the mirror is hanging, step back and check that it is level, sits close to the wall as intended and does not rock easily. Where the product instructions allow, suitable lower bumpers can reduce contact marks; they are not a substitute for secure upper fixings. If the mirror shifts, a bracket bends or a fixing loosens during installation, take the mirror down and resolve the problem before using the space below it.
Make a habit of checking the frame and visible hardware when cleaning the mirror, especially after moving furniture or redecorating nearby. A safe installation is a combination of a sound mirror, suitable wall fixings and careful placement—not just a stronger hook. Taking time with those details lets the mirror serve as a decorative feature without leaving its support to chance.