Start with two measurements of the artwork
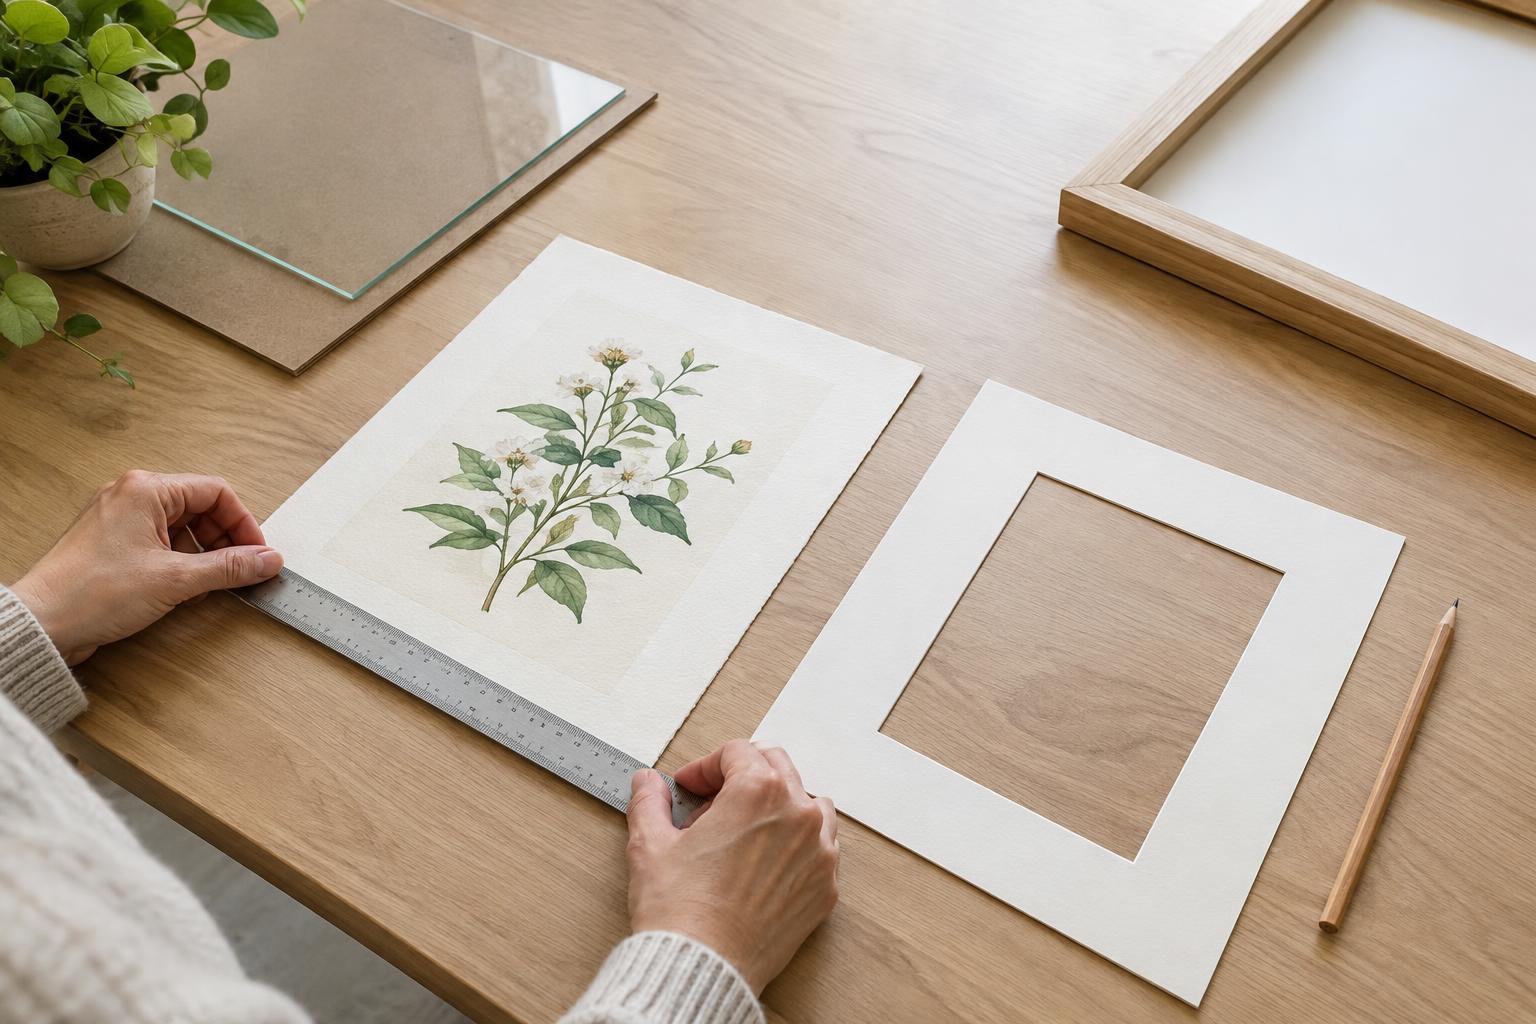
Before choosing a mat or frame, place the artwork on a clean, flat surface and measure it with a ruler marked in small increments. Record the width and height in the same unit throughout the project. Measure across the actual sheet rather than relying on a size printed on packaging; paper edges and handmade pieces are not always perfectly square.
Write down both the paper size and the visible image size. These are different if a print has a blank margin around it. The paper size tells you what needs to fit behind the mat, while the image size helps you decide what the mat opening should show. If there is a signature, edition number, or detail near an edge, include it in the area you plan to display. For an irregular edge that you want to leave visible, measure the widest and tallest points and plan a larger opening rather than covering it.
Choose what the mat opening will reveal
A mat opening is the window cut into the mat board. For a clean edge on a print or drawing, the opening is usually slightly smaller than the area you want to display. That small overlap hides the paper edges and gives the mat somewhere to cover them. A few millimeters of overlap on each side may be enough, but check the artwork itself: an uneven border or a detail close to the edge might call for a different choice.
To calculate an opening, decide the visible area first, then subtract the overlap from both sides of each dimension. For example, if you want to display an area 20 cm wide and 25 cm high, and the mat will cover 0.3 cm on every side, specify an opening of 19.4 cm by 24.4 cm. Make a paper window at that size and lay it over the artwork before ordering or cutting a mat. This simple test shows whether the crop feels balanced and whether anything important disappears.
Work outward to the mat and frame
The outside dimensions of the mat should match the frame's stated picture size: the size of the piece the frame is designed to hold. Do not confuse this with the frame's overall exterior dimensions, which include its molding. Check the frame's specifications if possible, particularly when using a vintage frame or one without a clear size label.
To estimate the mat borders, subtract the opening width from the mat width and divide by two. Repeat with the heights. A 30 cm by 40 cm mat with a 20 cm by 25 cm opening would have 5 cm borders on the left and right and 7.5 cm borders at the top and bottom if the opening is centered. Equal side borders often look orderly, while a slightly wider bottom border can give a piece visual weight. Either arrangement works; note your choice on a sketch before cutting.
Also check that the artwork fits behind the mat. Its paper needs enough covered area around the opening to hold it in place without showing a gap. If the sheet is larger than the mat, choose a larger frame and mat, or reconsider whether the piece should be matted at all. Avoid trimming an original work simply to fit a standard size.
Check the stack, not just the width and height
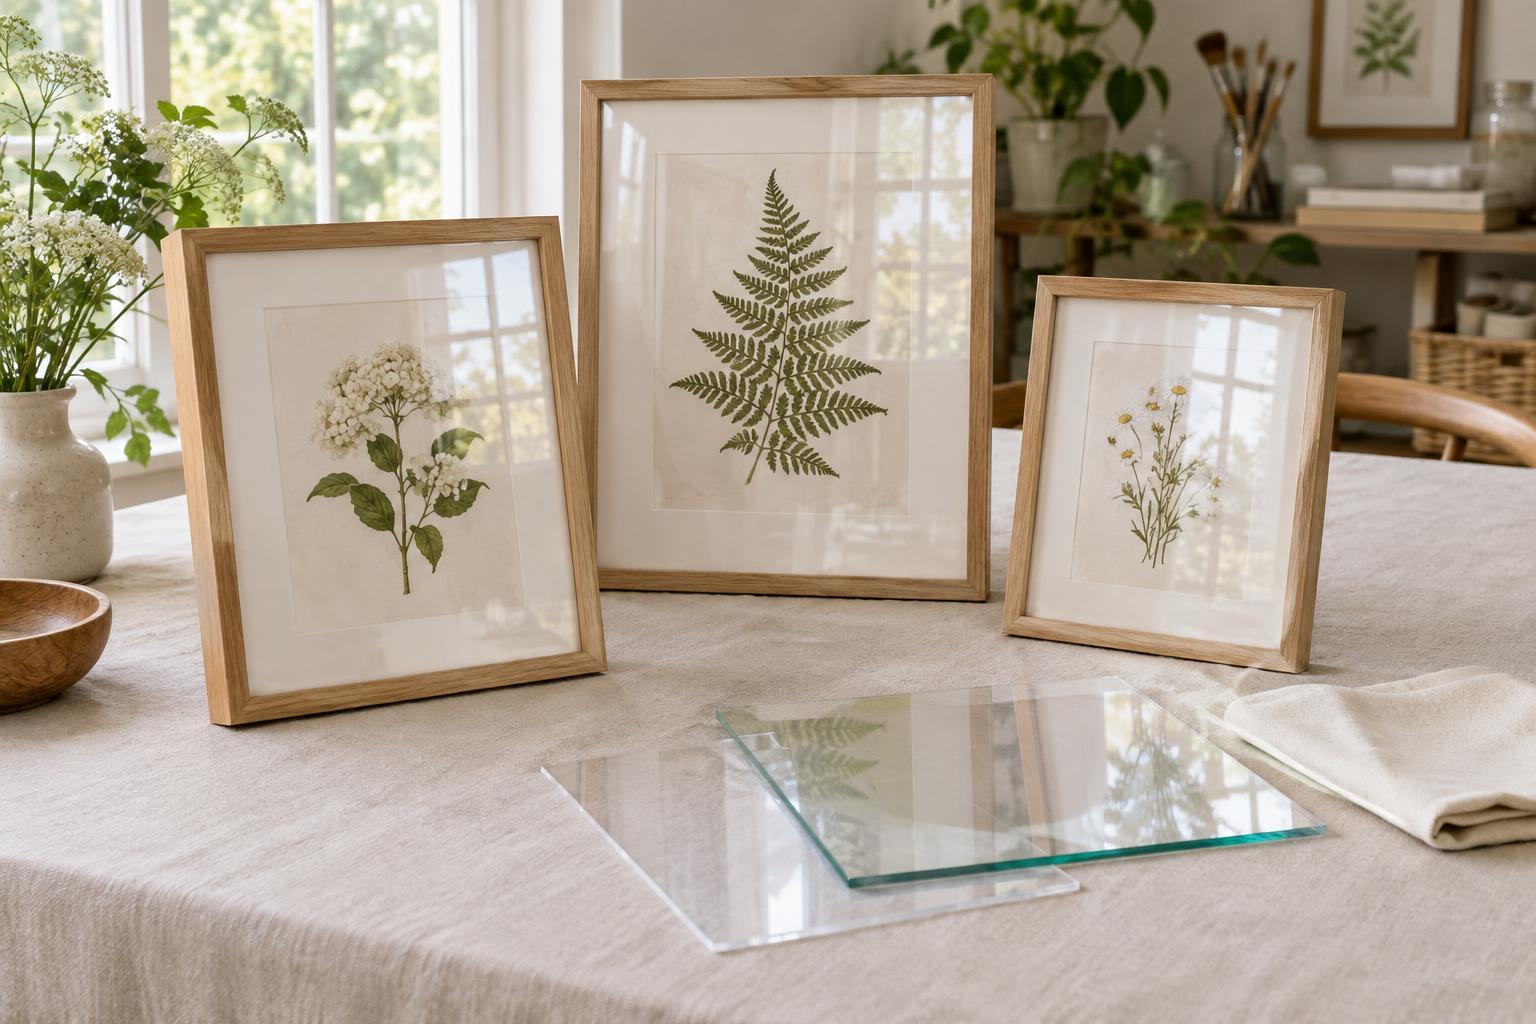
A frame must accommodate more than the artwork and mat. Glazing, mat board, backing board, and any spacers all add depth. The recess inside the back of the frame, often called the rabbet, needs to be deep enough for that stack to sit securely. This matters especially with a double mat, thick paper, or raised artwork. Lay the components together and check the fit before fastening the frame closed.
Check the inside edges of the frame as well. They may cover a small amount of the mat's outer edge, so keep writing, decoration, and other details away from that perimeter. If the work is delicate or valuable to you, use suitable framing materials and a reversible way of securing it rather than glue or tape directly on the image. A framer can help with pieces that need special handling.
Do a final dry run
Before cutting or placing an order, make one final list: paper width and height, intended visible area, mat opening, mat outside dimensions, frame picture size, and orientation. Label each measurement clearly. “Opening: 19.4 × 24.4 cm” is more useful than an unlabeled pair of numbers, especially if you are working on several pieces.
Set the planned mat window over the artwork, then place a paper rectangle cut to the intended frame size around it. Step back and look at the whole composition. This dry run can reveal a border that feels too narrow, a crop that hides a signature, or an opening that needs to shift slightly. Once those decisions are settled, the measuring becomes straightforward: the artwork determines the window, the window determines the borders, and the mat fits the frame.