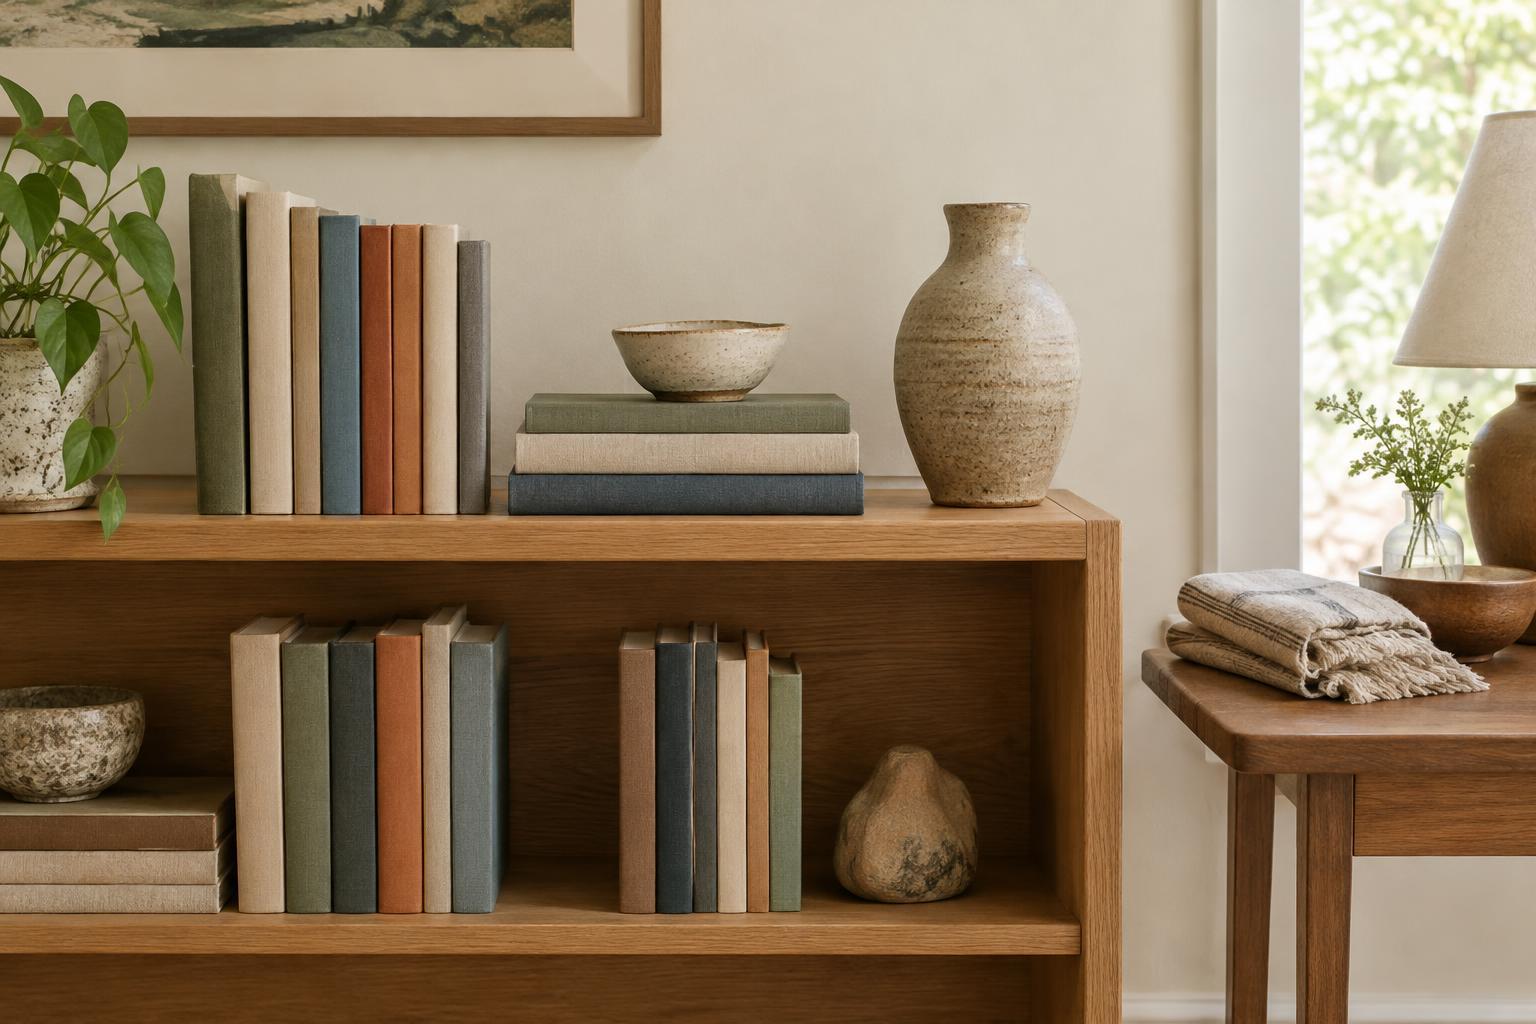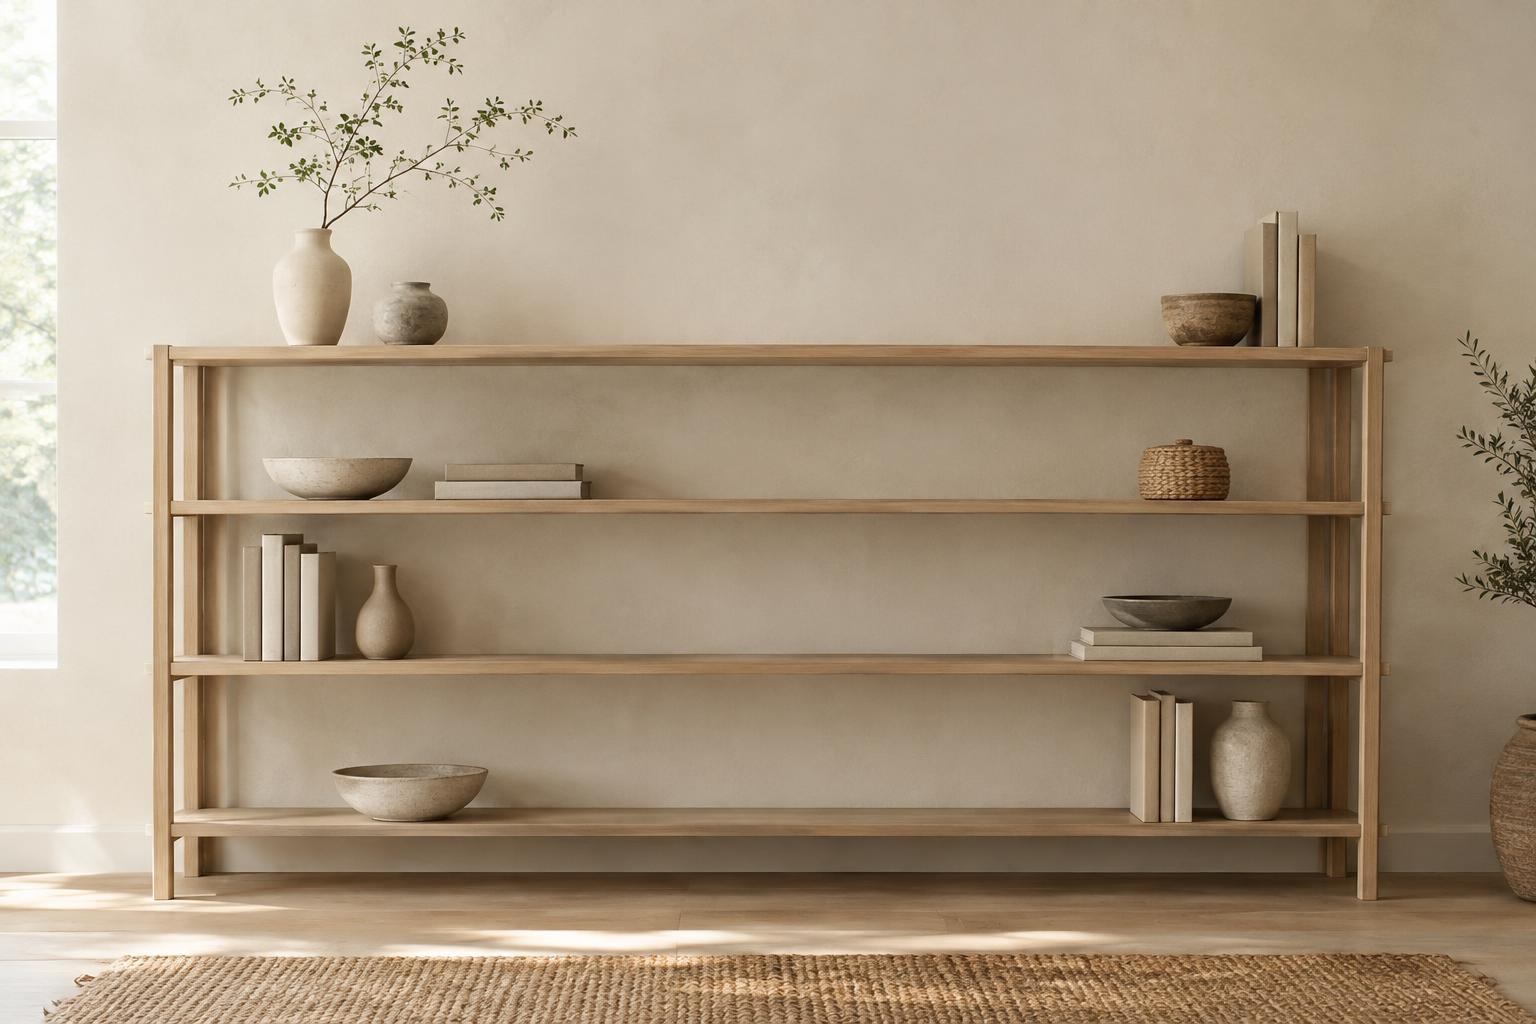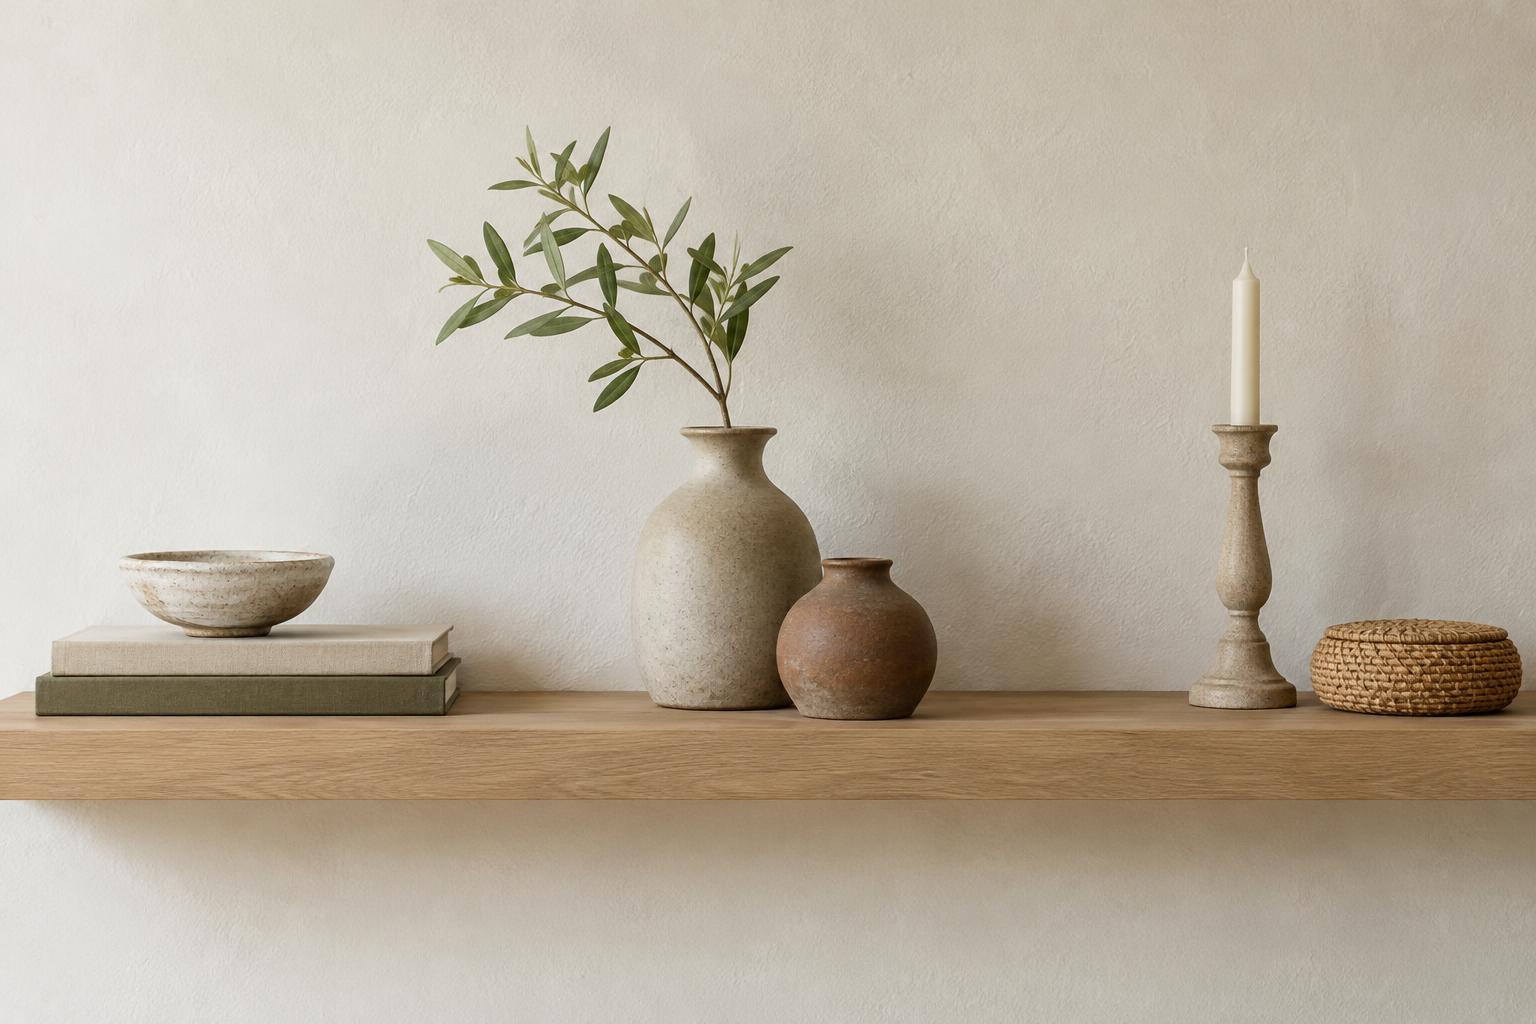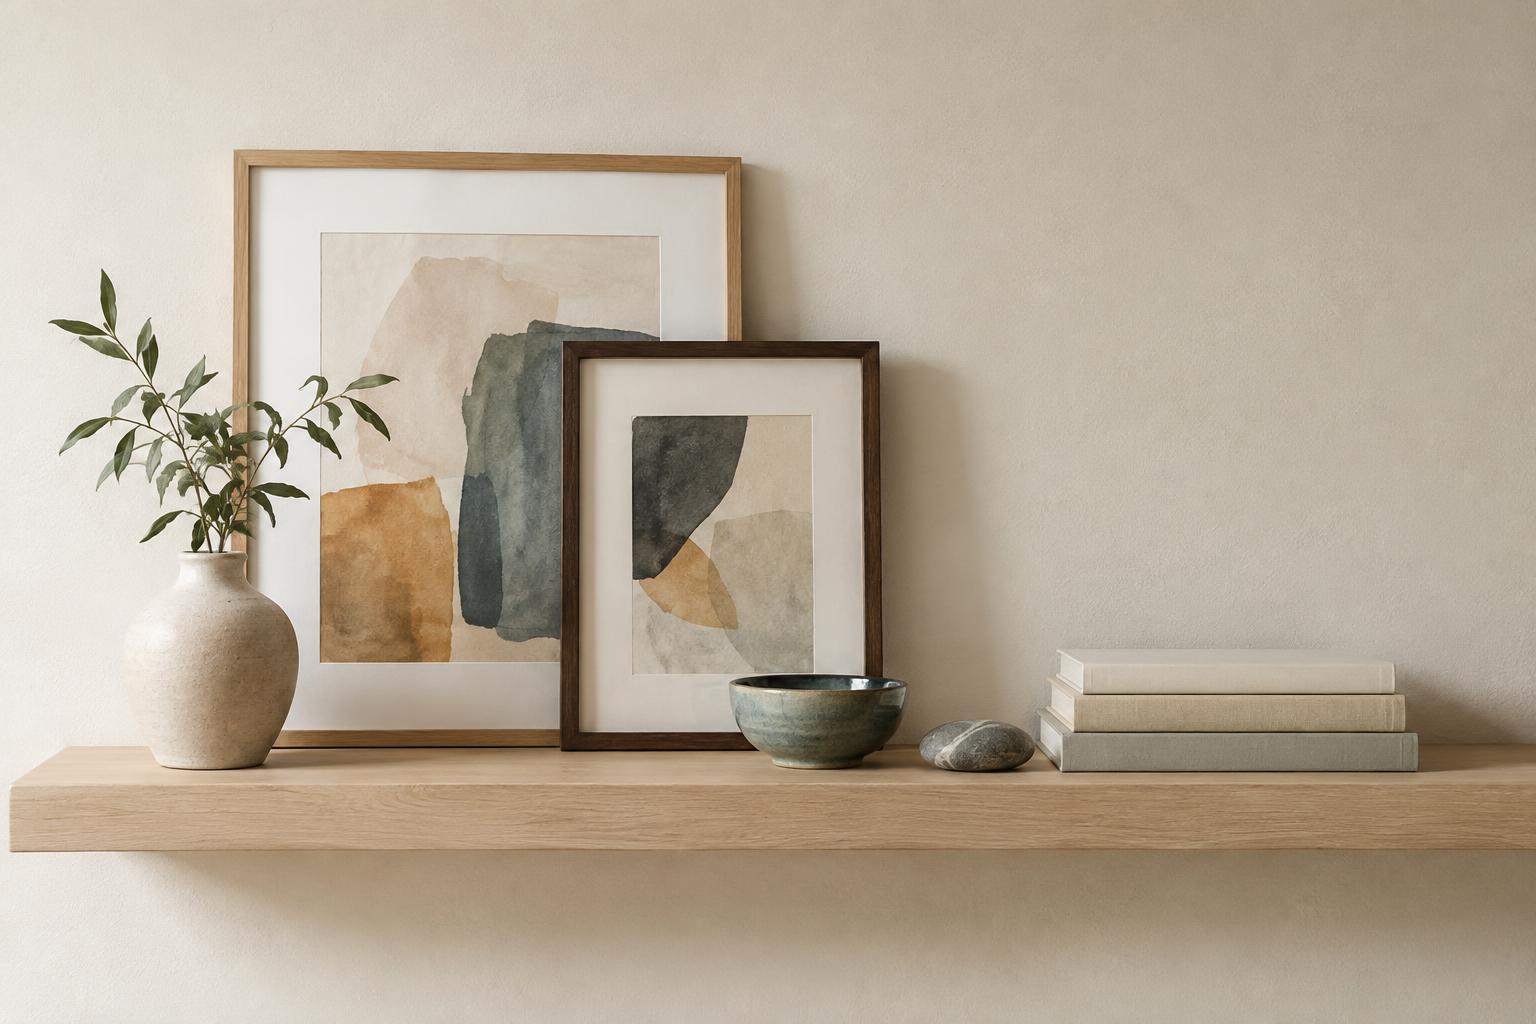
Start with the shelf, not the objects
Before arranging anything, look at the shelf’s depth, length and position in the room. A narrow shelf may suit slim frames and a few shallow objects, while a deeper one gives you room to place pieces in front of the art. Check that the shelf and its fixings can support what you plan to display. Heavier objects should sit securely on a sturdy surface rather than near an exposed edge.
Clear the shelf completely, then choose a small group of things you want to see together. Two or three frames, a vessel, a box and one smaller item can be enough for a short shelf. They do not need to match. A shared color, material or mood can make a mixed collection feel connected: a warm wood frame might echo a woven basket, for example, while a glazed pot picks up a color in a print.
Build a backdrop with frames
Place the largest frame toward the back first. Leaning art against the wall gives it a relaxed look and makes it easy to change the display, provided it can rest without sliding. If the shelf is bumped often, or a frame feels unsteady, use a suitable restraint rather than relying on balance alone. Keep breakable framed pieces away from spots where they could be knocked by a door, chair or passing shoulder.
Add a second, smaller frame slightly in front of the first. Let their edges overlap without covering the part of either image you most want to show. Try shifting the pair off-center; this leaves room for objects on the other side and can look less rigid than a symmetrical arrangement. Frames of different heights create a clearer outline than several frames of nearly identical size. If you use more than two, pause before adding the next one so the shelf does not become a solid wall of rectangles.
Give small objects a role
Use objects to change the rhythm of the display. A rounded ceramic vase softens the straight lines of frames. A low lidded box provides a horizontal shape, while a candlestick or small sculpture adds height. Place an object in front of a frame only if it leaves enough of the artwork visible to make the overlap look intentional.
Group very small pieces rather than scattering them at even intervals. A small dish beside a bud vase reads as one cluster, which is easier for the eye to take in than two isolated items. You can also set one lightweight object on a stable stack of books to bring it closer to the height of the frames. Avoid tall stacks or precarious combinations. The aim is to create gentle changes in level, not a balancing act.
Make space part of the composition
Empty space helps each item stand out. After placing your main group, leave a visible gap before adding another cluster or a single object. The gap does not have to be perfectly measured; it simply needs to give the eye a place to rest. If the shelf looks crowded, remove one piece before trying to rearrange everything else.
Step back and look at the overall silhouette. Do all the tall pieces sit on one side? Does a small item disappear behind a frame? Moving one object may be enough to improve the balance. Look from the places where you usually see the shelf, not only from directly in front of it. On a long shelf, an uneven sequence of high, low and open areas often feels more natural than repeating the same grouping from end to end.
Adjust for everyday use
A styled shelf still has to work in its setting. Keep frequently used books or objects easy to reach, and give fragile pieces extra clearance. If the shelf sits in strong light, consider whether a delicate print or textile artwork would be better placed elsewhere. Leave enough room to dust around objects without repeatedly lifting a complicated arrangement.
Finally, take one more item away and see whether you miss it. If you do, put it back. Layering works best when the overlap reveals a relationship between pieces rather than hiding a collection behind itself. Once the arrangement feels settled, you can change a print, swap a vessel or rotate a keepsake without rebuilding the whole shelf.