Sort the ceramics before you wrap
Packing ceramics starts with deciding which pieces should travel together. Set out the objects in a clear workspace and separate sturdy everyday ware from thin-walled bowls, tall vases and objects with projecting details. Look for existing chips, loose repairs or wobbly attachments so you know which areas need extra care. If a piece has a removable lid, stopper or stand, take it off and pack it separately. Never rely on a lid staying in place inside a wrapped pot.
Choose a small or medium sturdy box rather than one large box that becomes too heavy to lift steadily. Have clean packing paper or soft tissue, bubble wrap, tape, and crumpled paper or another cushioning material ready. Plain paper is preferable to printed newspaper where ink might transfer. For a particularly delicate or valuable object, consider giving it a box of its own inside a larger cushioned box.
Protect surfaces and vulnerable parts
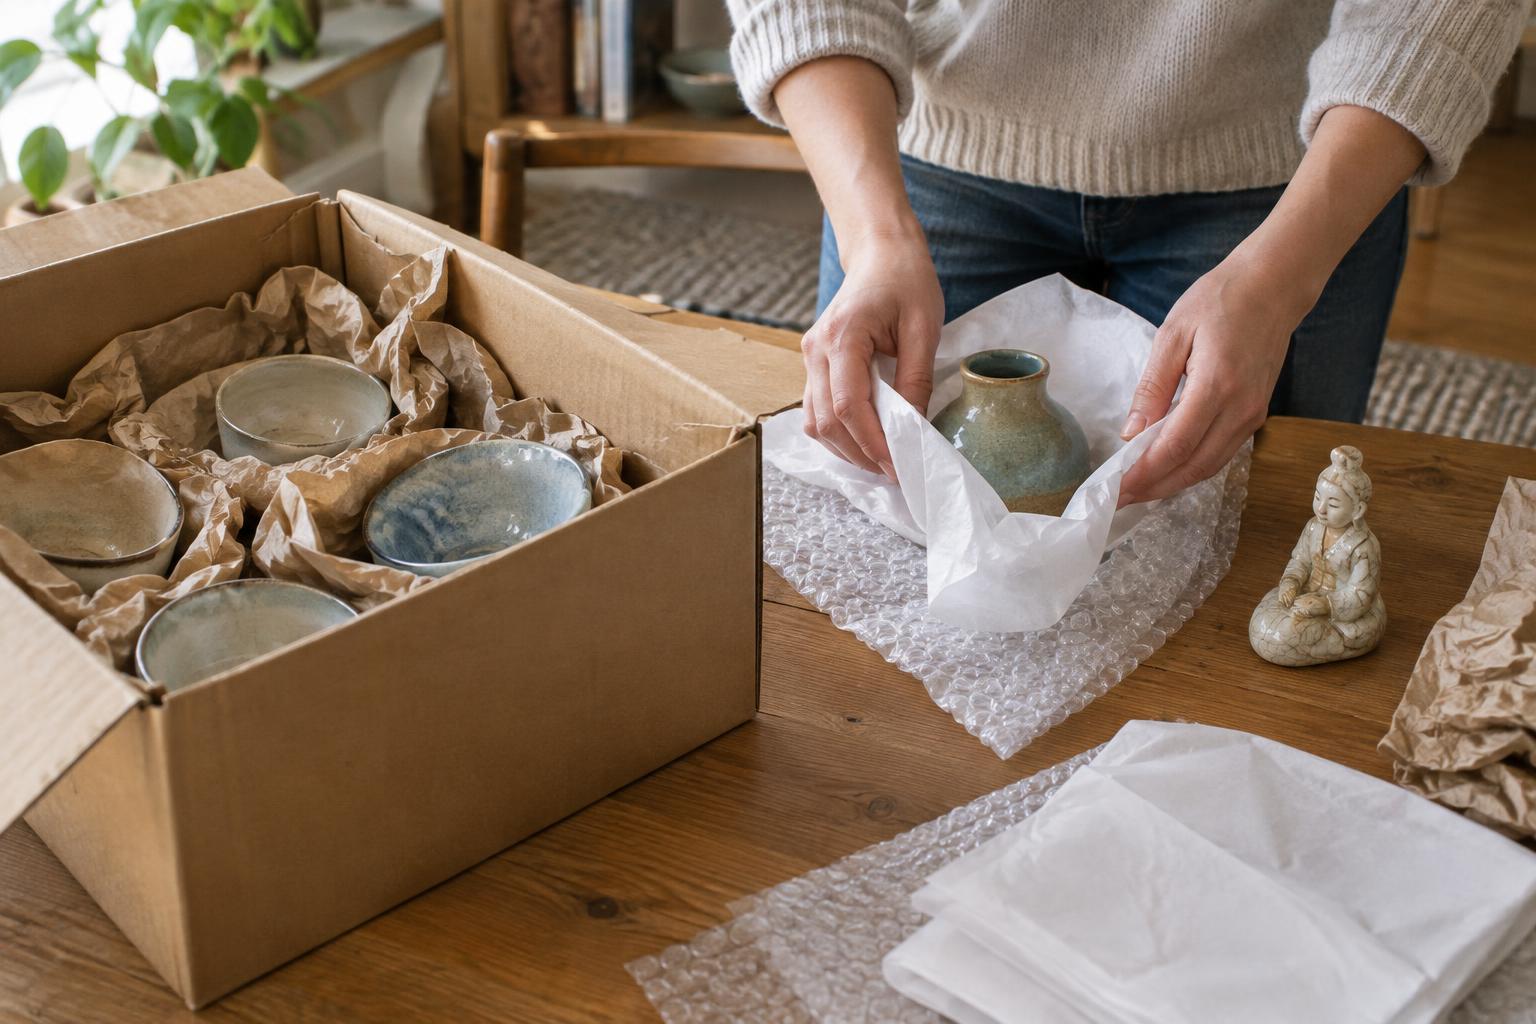
Begin with a clean, soft layer against the ceramic. This is especially helpful for matte, unglazed, painted or decorated surfaces that could be marked by rough wrapping. Wrap the whole object in paper or tissue, then add several layers of bubble wrap for cushioning. Secure tape to the outer wrapping, not to the ceramic. Avoid pulling the wrapping so tight that it presses on a handle, spout or raised ornament.
Give projecting details their own support before wrapping the entire piece. Loosely fill the space beneath a mug handle or around a vase handle with folded paper so the detail is less exposed to pressure. Wrap a spout or finial with small pieces of soft paper, then cushion the object as a whole. The goal is to keep a protrusion from taking a direct blow, not to force packing material into a narrow opening.
Wrap lids individually and mark them so they can be matched to their bases during unpacking. For lidded jars, place a little soft paper inside the jar only if it can be removed easily and will not catch on a fragile rim. Do not tape a lid onto its base: pressure or movement can damage both contact edges.
Build a cushioned box
Line the bottom of the box with a generous, even layer of cushioning. Place the heavier, sturdier wrapped objects near the bottom, leaving room between each item and the box walls. Bowls and plates can be packed on edge with cushioning between them rather than stacked flat under the weight of other objects. A tall vase is usually safest upright if the box allows cushioning beneath it, around it and above it without pressing on the rim.
Fill every gap with crumpled paper or other packing material so objects cannot slide into one another. Keep fragile handles and decorative details away from the sides of the box, where impacts are more likely to reach them. Add another cushioning layer before placing any lighter items above the first layer. Nothing should rest directly on an exposed rim, knob or ornament.
Before sealing, close the flaps and gently tilt the box a little. If you feel movement or hear objects shifting, reopen it and fill the gaps. The box should be full enough to prevent travel inside, but not bulging. Tape its seams securely and label it as fragile, with the intended upright direction and a brief description of its contents. A label helps, but careful packing still has to do the protective work.
Move and unpack with the same care
Carry ceramic boxes from underneath and avoid stacking heavy boxes on top of them. In a vehicle, place them where they cannot tip or be squeezed by shifting furniture. Keep a small box of especially delicate objects with you if that gives you more control over how it is handled.
At the destination, set each box on a stable surface and remove the top cushioning before lifting out an object. Unwrap over a table rather than while standing over a hard floor. Check small folds of paper for lids or detachable parts before discarding the packing. Taking a little more time at this stage helps prevent the frustrating last-minute chip that careful wrapping was meant to avoid.