Start with the object and its intended use
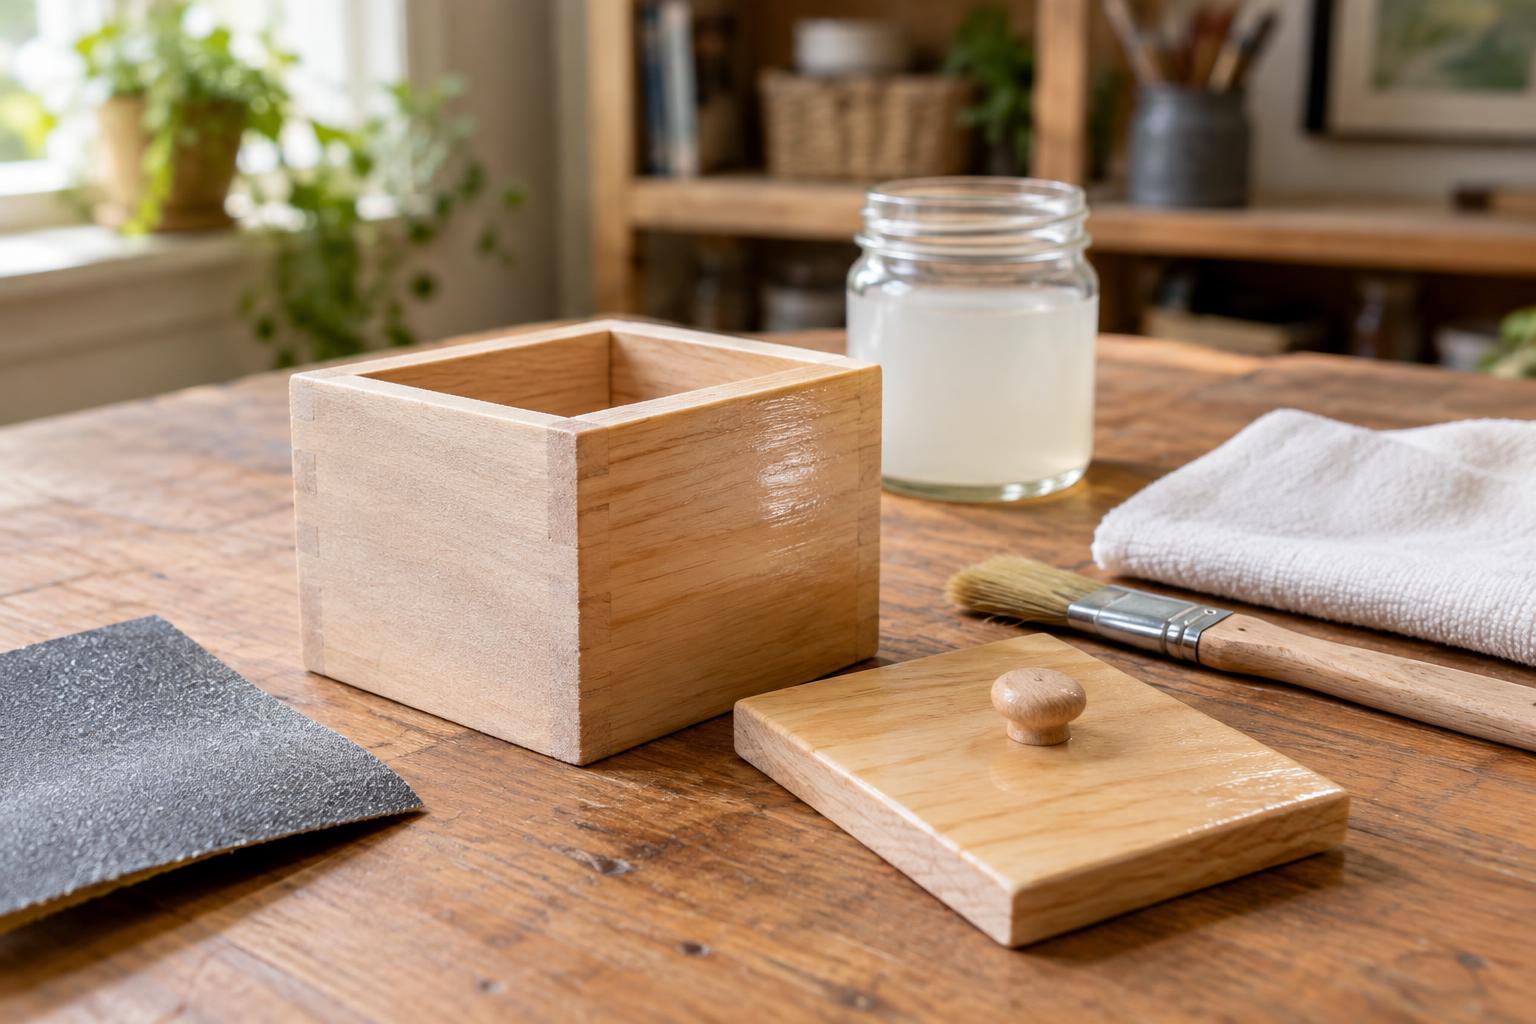
A wooden box, ornament or display tray may look ready to paint, but its surface can hold dust, wax, oil or an old finish. These can interfere with paint adhesion and leave patches that look different once dry. Before choosing materials, decide whether you want visible wood grain, an opaque colour or a deliberately rustic surface. The preparation should serve that finish rather than erase every sign of the wood.
Think about how the object will be handled. A wall ornament needs less protection than a box lid opened every day. A decorative tray may need a durable coating, but a painted craft finish does not automatically make it suitable for direct food contact. If you are repurposing an older painted object and do not know what its coating contains, avoid creating dust by dry sanding it. Choose an unfinished craft blank instead, or seek appropriate guidance before disturbing the old finish.
Clean, inspect and sand
Remove hardware if you can, then wipe away loose dirt. Clean greasy or handled areas with a mild cleaner suitable for wood, using as little water as necessary. Let the piece dry fully before continuing. Inspect edges, joins and knots: loose fibres can catch a brush, while cracks may show more clearly under paint. Fill unwanted dents with a wood filler compatible with your planned finish, and allow it to dry according to its instructions.
Sand unfinished wood with the grain, starting with a grit coarse enough to smooth rough spots without leaving deep scratches. Follow with a finer grit to make the surface comfortable to touch. For an existing sound finish, gentle scuff-sanding is often enough to give a suitable primer a better surface to grip. Ease sharp corners lightly, since paint can wear quickly on a knife-sharp edge. Remove sanding dust with a vacuum or soft brush, then a clean, slightly damp cloth if the wood and product instructions permit. Work with ventilation and avoid breathing dust.
Choose the right layer beneath the paint
“Sealing” can mean different things. Before opaque painting, a primer is usually the useful first layer: it helps create an even surface for colour and may improve adhesion. A dedicated stain-blocking primer may be needed where knots, tannins or existing marks could bleed through a light paint. Choose one labelled for the wood and paint you intend to use, and test a small area if the materials are unfamiliar.
Clear sealer is a different choice. It can suit a design that leaves some wood exposed, but not every clear coat accepts paint well. Likewise, wax or oil applied before painting may prevent later coats from bonding. For most fully painted small objects, keep the sequence simple: prepared wood, suitable primer, paint, then an optional protective topcoat. Coat the underside or back when practical, especially if an unfinished area would remain visible or absorb moisture unevenly. Follow each product’s directions for drying and recoating rather than relying on a surface that merely feels dry.
Apply thin coats and protect the details
Brush primer in thin, even coats, paying attention to end grain, cut edges and carved recesses. These areas can absorb more product than broad faces. Avoid letting primer pool in corners or soften a crisp decorative line. When the coat is dry as directed, lightly sand any raised fibres or brush marks with fine abrasive, then remove the dust before painting. If the surface still looks patchy or knots show through, apply another suitable primer coat instead of trying to hide the problem with thick paint.
Build colour with several thin coats rather than one heavy coat. Let each coat dry as specified, and keep hinged edges, screw holes and fitted lids free of buildup. A small brush can reach details; a wider soft brush can help on flat faces. If you plan to add painted motifs, let the base colour dry adequately first so new strokes do not lift it.
Decide whether to add a final topcoat
A topcoat is optional for a lightly handled ornament but helpful for surfaces likely to be touched or wiped. Choose a clear finish compatible with the paint beneath it, and consider its appearance: matte coatings can preserve a muted look, while glossier ones may make colours seem deeper. Some clear products can change the appearance of pale colours, so test the full primer-paint-topcoat combination on a hidden area or spare piece of wood first.
Allow the paint to dry as directed before applying a topcoat in thin layers. Give the finished object time to cure according to the product instructions before stacking it, closing a fitted lid or setting items on it. Keep care gentle afterward: dust with a soft cloth and avoid prolonged dampness unless the finishes you selected are intended for that exposure. Careful preparation will not make wood indestructible, but it gives your decorative paintwork a more reliable foundation.