Choose flowers with the frame in mind
Pressed-flower art begins with specimens that can dry flat. Small blossoms, individual petals, delicate leaves, and slender stems are easier to press than thick flower heads. A flower with several layers of petals may dry more evenly if you separate it into smaller pieces and arrange them together again when mounting. Try a few shapes and sizes so the finished composition has variety without becoming crowded.
Gather flowers only where you have permission to do so, and leave plants you cannot confidently identify alone. Some plants have irritating sap or other properties that make them unsuitable to handle casually. Choose clean, dry specimens rather than flowers wet with rain or dew. If you are cutting from a garden, handle each piece gently: creased petals and bruised leaves can become more noticeable after pressing.
Before you start, decide on a frame and a rough layout. A single stem can make a quiet focal point, while a loose collection of blossoms can fill a larger space. Thinking about scale now helps you select flowers that will fit without trimming away their most interesting details later.
Press the flowers between absorbent layers
You need absorbent paper, a heavy book or flower press, and clean sheets of scrap paper to protect the book. Blotting paper works well, but plain, uncoated paper can also be used. Avoid placing flowers directly against glossy pages, which absorb little moisture. Lay each specimen on a sheet of absorbent paper and gently guide petals, leaves, and stems into the position you want them to keep.
Cover the arrangement with another sheet of absorbent paper. If using a book, place the paper sandwich between scrap sheets, close the book, and add weight on top. If using a flower press, tighten it enough to hold the layers flat without crushing them unnecessarily. Keep specimens apart so they do not overlap or transfer color onto one another.
Put the press in a dry place and check the flowers after the first day or two. If the paper feels damp, replace it carefully with dry sheets. Drying may take a week or several weeks, depending on the thickness of the plant material and the conditions in the room. A specimen is ready to mount when it feels dry and papery throughout, with no cool or soft spots. Do not frame flowers that still hold moisture; they may discolor or develop mold.
Plan a balanced composition
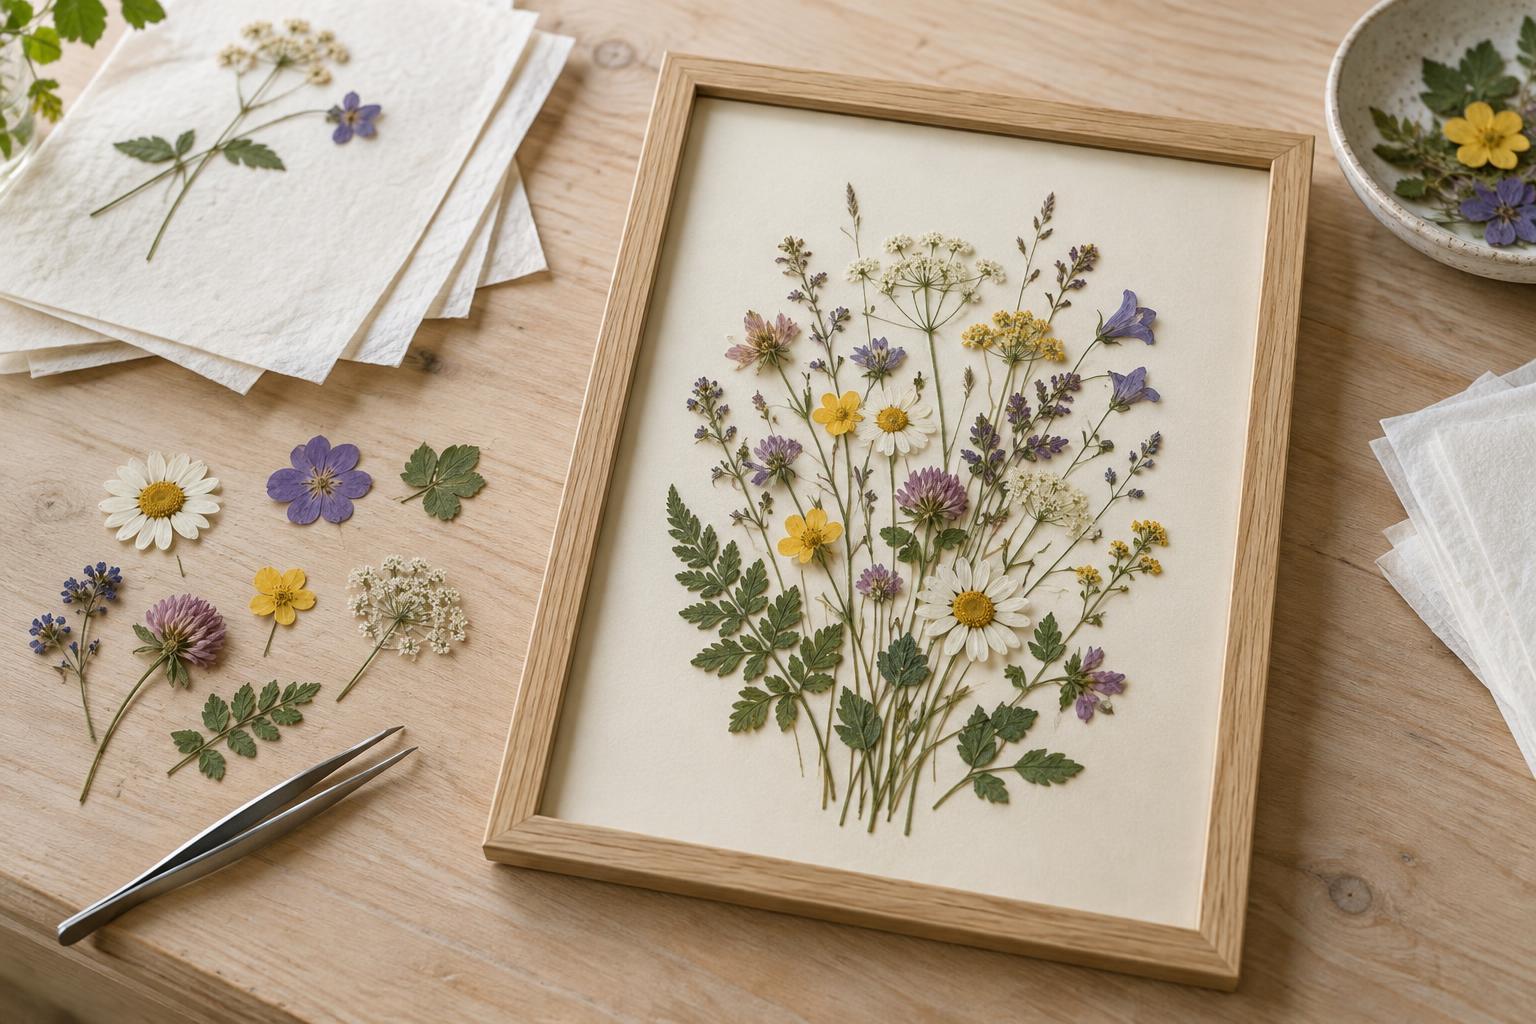
Once the flowers are dry, handle them by their stems or sturdier parts whenever possible. Place a sheet of backing paper on your work surface and arrange the specimens without adhesive first. Move them with clean, dry fingers or tweezers, taking care not to scrape fragile petals. Leaving open space around the flowers can make their outlines easier to appreciate.
For a simple arrangement, start with one prominent flower or leaf and build around it. Vary the direction of smaller stems rather than lining everything up at the same angle. You can also repeat a shape or color in two or three places to make a mixed collection feel connected. Step back from the layout before attaching anything; details that look balanced up close may appear uneven at viewing distance.
Choose backing paper that is sturdy enough to remain flat in the frame. A light background shows fine silhouettes clearly, while a darker or warmer color can change how pale petals appear. If you want to write a plant name or a personal note beneath the arrangement, test the spacing with the frame’s mat or opening in place so the text will not be hidden.
Mount gently and frame with space
Test your adhesive on a spare pressed petal before working on the final piece. A tiny amount of acid-free craft adhesive, applied behind a sturdier stem or the center of a flower, is often enough for a decorative project. Use less than you think you need: excess adhesive can show through thin petals or leave marks on the backing. Hold each piece in position briefly, then let the artwork dry flat according to the adhesive’s directions.
If you would rather avoid attaching a valued specimen directly, look into paper hinges or other conservation-style mounting methods instead of ordinary tape. Whatever method you choose, make sure no loose stems can shift when the artwork is lifted. Place the finished backing in a frame with a mat or shallow spacer that keeps the flowers from being pressed against the glazing.
Hang the frame away from damp areas and strong direct sunlight. Pressed plants may change color over time even with careful handling, so consider the piece a natural object rather than a permanent copy of the fresh flower. Keep any unused pressed specimens flat between clean paper in a dry place; they can become the starting point for another small composition.