Start with the tray’s underside
A tray may look smooth from above while hiding rough spots underneath. Before setting one on a table, turn it over and run your fingertips carefully around its rim, corners, seams, and any feet. Look for raised staples, sharp metal edges, uneven ceramic glaze, and splinters in woven or wooden bases. If an edge feels sharp enough to catch a cloth, it could mark a finish.
Choose a remedy that suits the tray. A small burr on an unfinished wooden base may be smoothed gently with fine abrasive paper, followed by thorough dust removal. Avoid sanding glazed ceramic, plated metal, painted surfaces, or finishes you do not want to alter. If the underside is uneven or has several rough points, a removable liner or separate protective mat may be more useful than a few small pads.
Put a soft, stable layer between tray and furniture
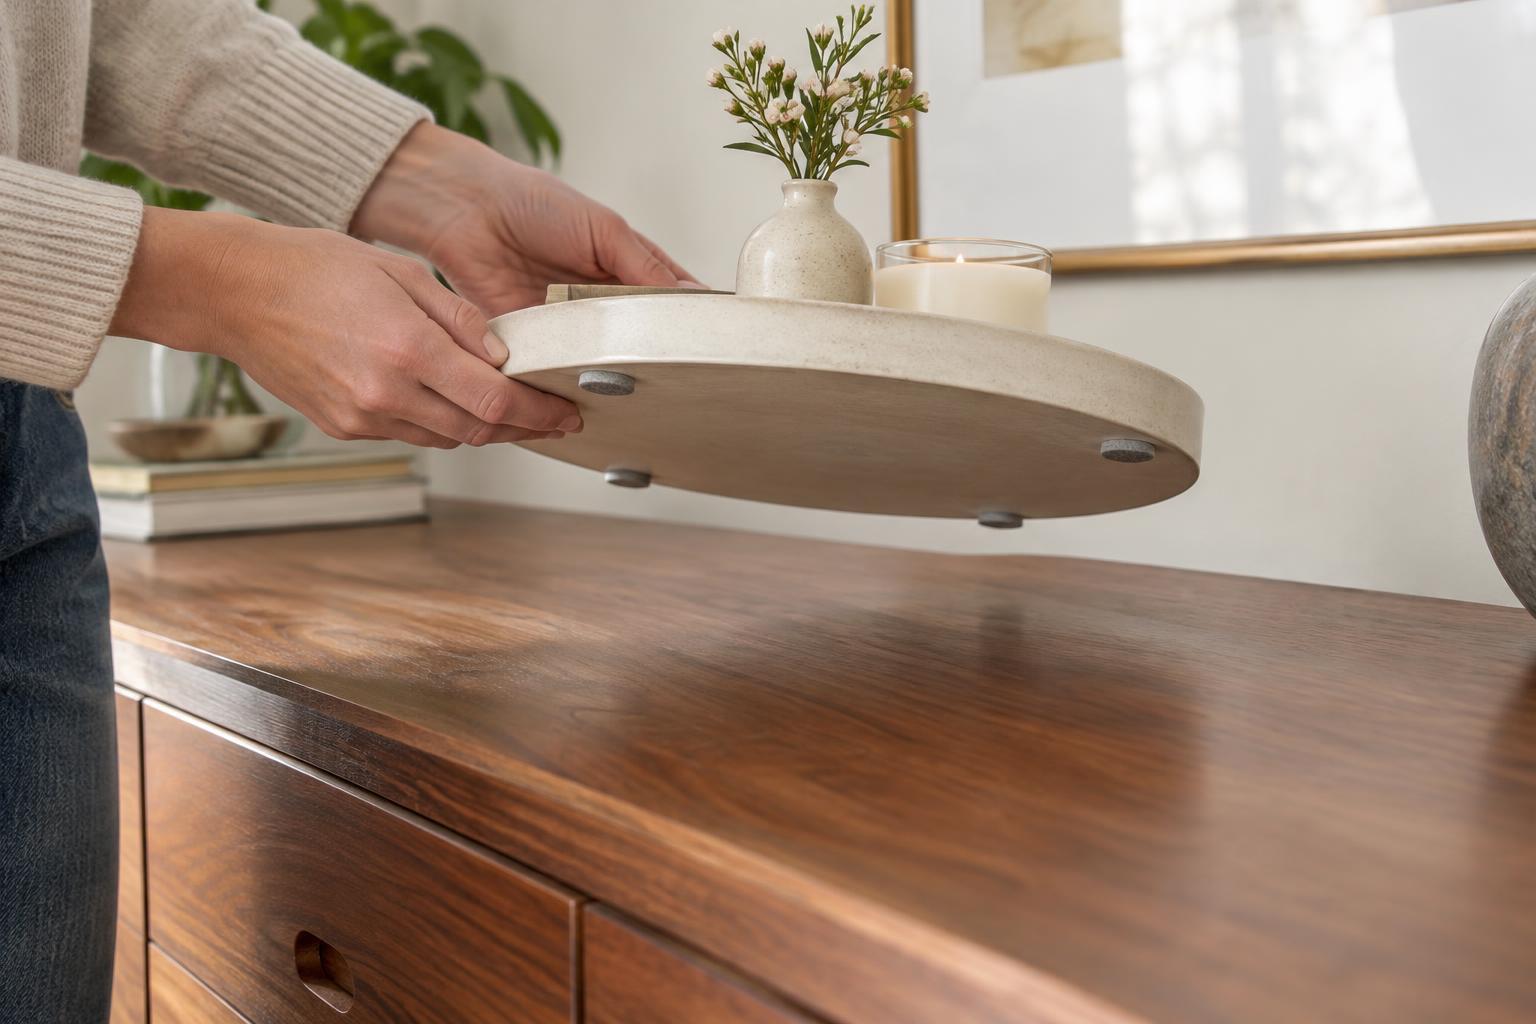
Felt pads are a simple option for a tray with a flat, sturdy rim or feet. Place enough pads to support its weight evenly, including near corners that might otherwise tip. Pads should sit slightly inside the outer edge so they remain discreet, but not so far inward that the tray can rock. Replace them when they flatten, peel, or collect grit.
For a broad, flat base, consider a thin cork sheet, a washable fabric mat, or a non-slip liner cut a little smaller than the tray. The layer should lie flat and stay in place when the tray is lifted. Check its compatibility with the furniture finish first: some adhesives, rubber-like materials, and dyed fabrics may leave residue or discoloration after prolonged contact. If you are unsure, test a small, inconspicuous area or use an easily removable mat made from an undyed material.
Keep dust, grit, and moisture from doing the damage
Scratches are not always caused by the tray itself. Crumbs, sand, and other hard particles can become trapped beneath it and scrape a surface when it shifts. Lift the tray during routine cleaning, then wipe both its underside and the furniture with cloths suited to their materials. Let both surfaces dry before putting the tray back. Pay particular attention to textured bases, where particles can lodge between fibers or along seams.
Moisture calls for a separate check. A tray holding a vase, plant pot, or drink may catch a spill, but water can still reach the furniture through an open weave, a seam, or an overflowing edge. Use a waterproof saucer or insert where needed, and clean up spills promptly. On finishes sensitive to heat or water, a decorative tray should not be the only barrier beneath a hot mug or a damp planter.
Make the arrangement easy to lift, not slide
Even a padded tray can cause wear if it is pulled repeatedly across a shelf or tabletop. Give it a position where you can grasp both sides without bumping nearby objects. When rearranging a display, remove heavy contents first if that makes the tray easier to control, then lift it clear of the surface before setting it down again.
Balance matters too. A cluster of books, candles, or vessels at one end can make a light tray tilt onto a hard corner. Spread weight across the base, and avoid stacking items so high that they make lifting awkward. On a narrow console or crowded shelf, a smaller tray with a level base is often easier to handle than an oversized one that must be shuffled into place.
Check the setup as materials age
Protection is not a one-time task. Adhesive pads can migrate, cork can crumble, and fabric can gather dust. Every so often, lift the tray and inspect the contact points and the furniture beneath it. If you notice a new mark, stop sliding the tray and identify what has changed before returning it to the same spot.
The best solution is one you can maintain without disrupting the display. A clean underside, a stable protective layer, and enough room to lift the tray usually do more than an elaborate fix that is hard to inspect. Treat the tray as part of the furniture arrangement: it should be pleasant to look at and considerate of the surface supporting it.