Decide whether the chip is a home project
A small chip along the rim or edge of a decorative vase, figurine or display tray is often manageable at home. Start by looking beyond the missing patch. If a crack runs away from the chip, the object feels loose, or its weight rests on the damaged area, a cosmetic fill may not hold. A treasured or potentially valuable piece is also worth leaving untouched until you can ask a ceramics conservator about the options.
This approach is for objects that will be displayed, not used with food or drink. Glue, filler, paint and clear coat can change how a ceramic surface behaves, and a neat-looking patch does not make a cup or serving dish suitable for use. Set aside any piece with sharp, unstable fragments where it could be handled or knocked over.
Gather materials and prepare the surface
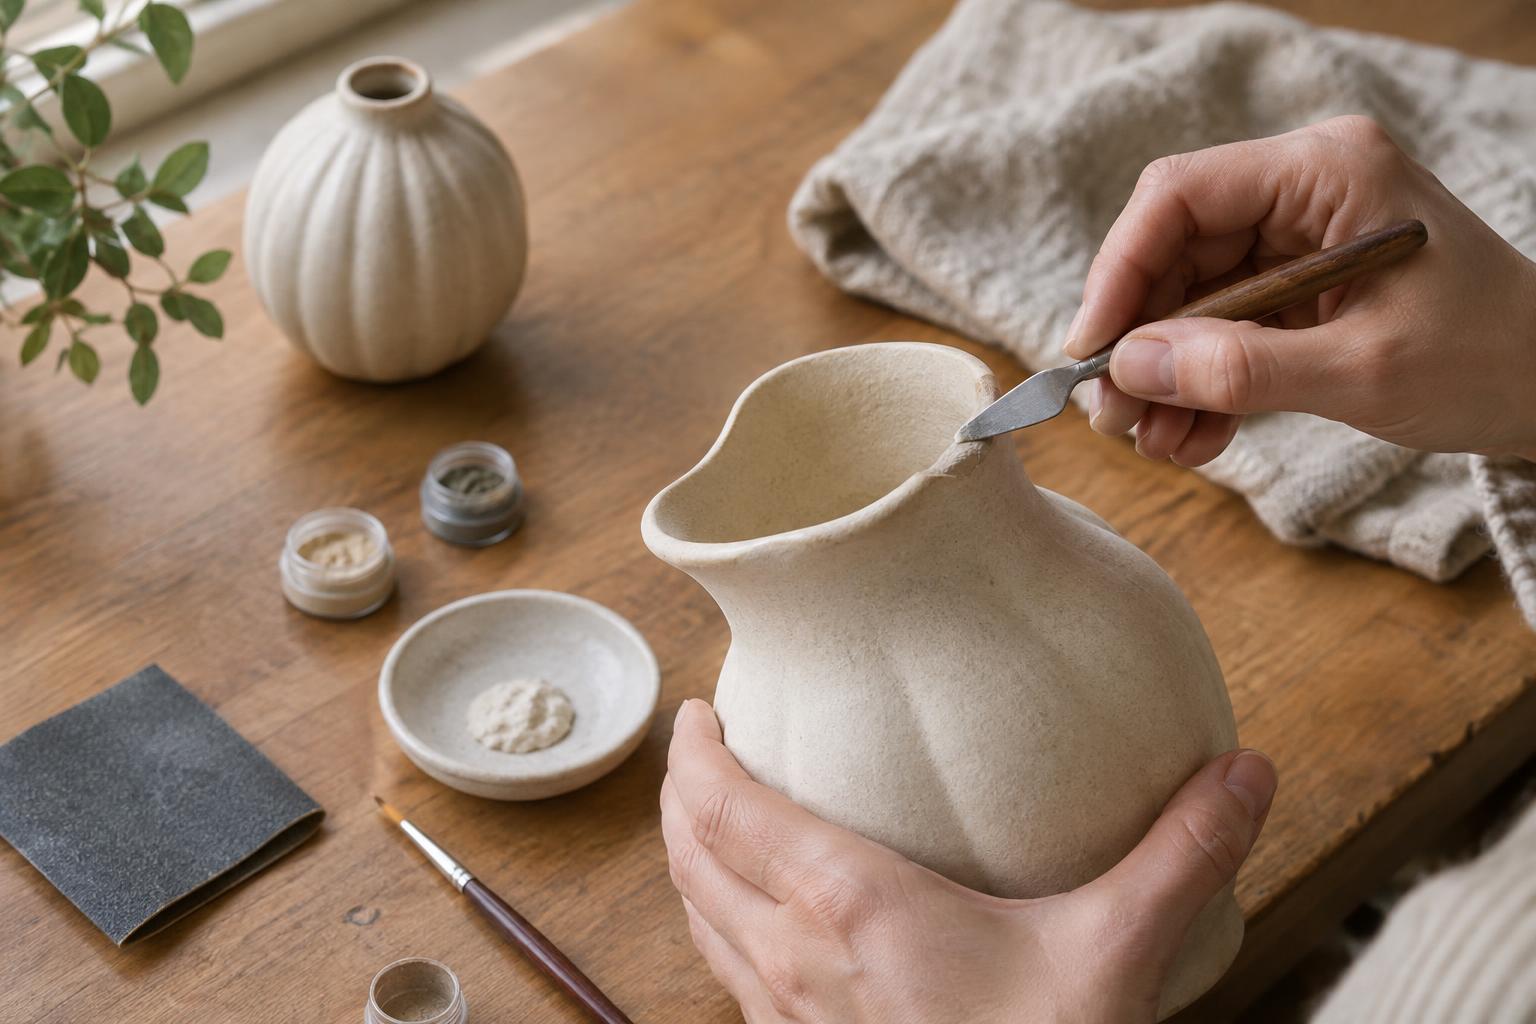
For a modest chip, you will need a soft brush, a lint-free cloth, a suitable ceramic repair putty or two-part epoxy filler, a small mixing surface and a tool such as a wooden craft stick for shaping. Fine abrasive paper, small artist’s brushes and acrylic paint can help with the finish. Choose products whose instructions allow use on the object’s surface, and follow their stated mixing, ventilation and curing directions. Wear gloves if the product calls for them.
Brush loose dust from the chip and gently wipe away surface dirt. Let the area dry completely before applying filler. If a fragment has broken off and fits cleanly, test its position without adhesive first; forcing it into place can make the damage worse. Work over a protected table in good light, and keep any sanding gentle so you do not scratch the surrounding glaze or create unnecessary dust.
Fill and shape the missing area
Mix only a small amount of filler according to its instructions. Press it into the chipped area so it meets the existing ceramic without trapping an obvious gap. Build the shape a little at a time rather than piling on a thick lump. A lightly dampened tool may help smooth some putties, but check the product directions before adding water. Pay attention to the object’s outline: restoring the curve of a rim or the corner of a base matters more than making the fill perfectly flat.
Remove excess filler from the surrounding surface before it hardens, taking care not to pull material back out of the chip. Allow the repair to cure for the full time specified by the manufacturer. Once firm, lightly refine any raised edges with fine abrasive paper if the filler permits sanding. Stop as soon as the patch feels level; sanding the original finish can leave a larger, duller mark than the chip itself.
Blend the color without hiding the whole object
A filler patch often remains visible because its color and sheen differ from the ceramic around it. Test paint colors on a scrap surface before touching the object. Apply thin layers with a small brush, letting each dry before judging the match. On a patterned piece, begin with the main background color, then add only the lines or flecks needed to carry the pattern across the repair. Viewed from normal display distance, a close match is usually more useful than intricate detail that looks heavy up close.
Matching gloss can be harder than matching color. If the original surface is shiny, a compatible clear coat applied only to the patch may help, but test it first: some finishes dry more glossy or yellow-toned than expected. Avoid coating the entire object just to disguise one chip. Keep paint and coating away from surfaces that might contact food, water or heat.
Let the repair settle, then display it thoughtfully
Give each product its full drying or curing time before moving the object back to a shelf. Handle it by sound, undamaged areas rather than by the repaired edge. The patch may be less resistant to knocks than the original ceramic, so choose a stable spot away from busy walkways and crowded shelf arrangements.
A visible repair is not necessarily a failed one. Slight differences in texture or color can remain, especially on glossy glaze or an irregular break. Positioning the piece so the repair faces a less prominent angle can make it easier to enjoy the object as a whole, while a careful fill removes the distracting rough edge.