Plan the size and choose two usable sides
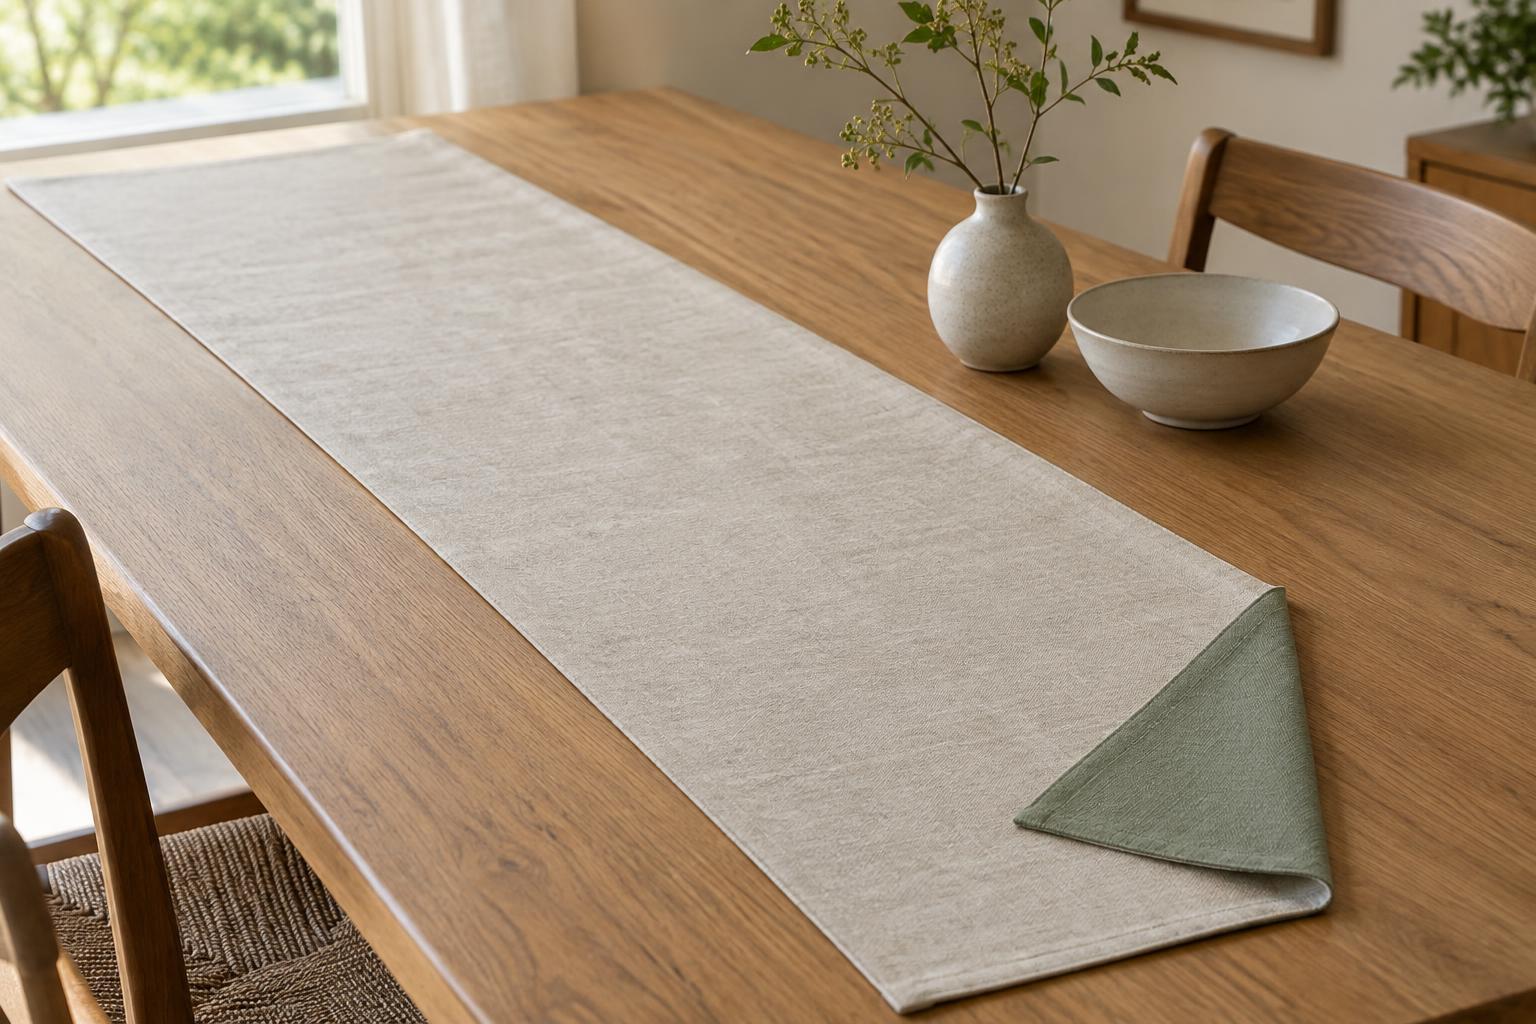
A reversible runner is a simple way to change a table setting without storing two separate pieces. The construction is much like a long, narrow cushion cover with no filling: two fabric rectangles are sewn together, turned right side out and pressed flat. Because either face may be visible, choose fabrics that you would be happy to show and care for in the same way.
Measure the table before cutting. Decide whether the runner should stop short of the ends or hang over them, then choose a finished length that suits how you use the table. A short runner leaves room at the ends for place settings; a longer one creates a more continuous line down the center. For width, leave enough visible tabletop on either side so the runner does not crowd plates or catch under chairs. Write down the finished length and width, then add twice your chosen seam allowance to each measurement for the cutting size.
Fabrics of similar weight are easiest to pair. Two stable woven cottons, or a cotton and a similarly weighted linen, are more likely to lie together neatly than a crisp fabric paired with a very soft or stretchy one. Wash and dry both fabrics as you expect to care for the finished runner, then press them before measuring. If one fabric has a strong directional pattern, check that it will point the way you intend along the table.
Cut and prepare for a straight seam
Cut one rectangle from each fabric using the same measurements. A rotary cutter and ruler can help with long edges, but careful marking and scissors work too. Check that the pieces are square by measuring their widths at several points. Small cutting differences can become noticeable when the layers are sewn together, especially along a long runner.
Lay the rectangles together with their right sides facing. Align the corners and smooth the layers from the center outward without pulling either fabric taut. Pin or clip around the edges, placing fasteners closer together if the fabrics tend to shift. Mark a turning opening on one long edge, away from a corner. An opening wide enough for your hand will make turning easier and reduce strain on the seams.
If your fabrics have noticeably different amounts of give, test a short seam on scraps first. Uneven feeding can leave one layer longer than the other. Slowing down, supporting the fabric’s weight beside the machine and avoiding pulling at the back can help keep the edges aligned.
Sew, turn and shape the runner
Sew around the runner using a consistent seam allowance, leaving the marked opening unstitched. Backstitch at each end of the opening so the seam is less likely to loosen during turning. When you reach a corner, stop with the needle down at the seam allowance, lift the presser foot and pivot the fabric. This creates a clear corner without trying to steer around it in a curve.
Before turning, trim excess fabric from the corners without cutting into the stitches. If the seam allowances feel bulky, trim them carefully, but leave enough fabric to support the seam. Turn the runner right side out through the opening. Gently work the corners into shape with a blunt tool or your fingers; a sharp point can push through the stitching.
Roll each seam gently between your fingers until it sits at the edge rather than favoring one side. Fold the raw edges of the opening inward to match the sewn seam and pin them in place. Press the runner from the center toward the edges, checking the heat setting against both fabrics. A pressing cloth can help protect a surface that marks or develops shine easily.
Finish both faces and keep them flat
Topstitch around all four sides, keeping the stitching an even distance from the edge. This closes the turning opening and helps the layers stay together through handling and washing. Sew slowly across the folded opening so you catch both folded edges. If you prefer a quieter finish, choose thread that blends with both fabrics and keep the stitching close to the edge; contrasting thread will make any unevenness more visible.
After sewing, press once more, then lay the runner on a flat surface to check its shape. If it twists or ripples, first check whether a seam is rolled unevenly or a corner is bunched. A careful re-press may resolve a minor problem. For future runners, cutting the layers accurately and guiding them without stretching usually does more to prevent ripples than adding extra stitching.
For everyday use, treat the runner according to the more delicate of its two fabrics. Shake off crumbs before washing, avoid leaving damp spills against the cloth and press it after laundering if the edges need reshaping. Fold it loosely or roll it for storage. When both faces are clean and pressed, turning the runner over is an easy way to change the table’s texture or color without making another piece.