Why flat ornaments curl
Air-dry clay shrinks as its moisture leaves. If one side dries faster than the other, a flat ornament may lift at the edges or bow through the middle. A shape can also bend before drying begins if it is stretched while being lifted from the work surface. You cannot eliminate every small change in shape, but careful handling and gradual, even drying can make a noticeable difference.
The clay itself matters, too: brands and recipes vary in texture, shrinkage and recommended drying methods. Read the package directions first, especially for suggested thickness and drying conditions. Before making a full batch, try one or two ornaments in the size and shape you want. A test piece will show how that particular clay behaves in your room.
Start with an even slab
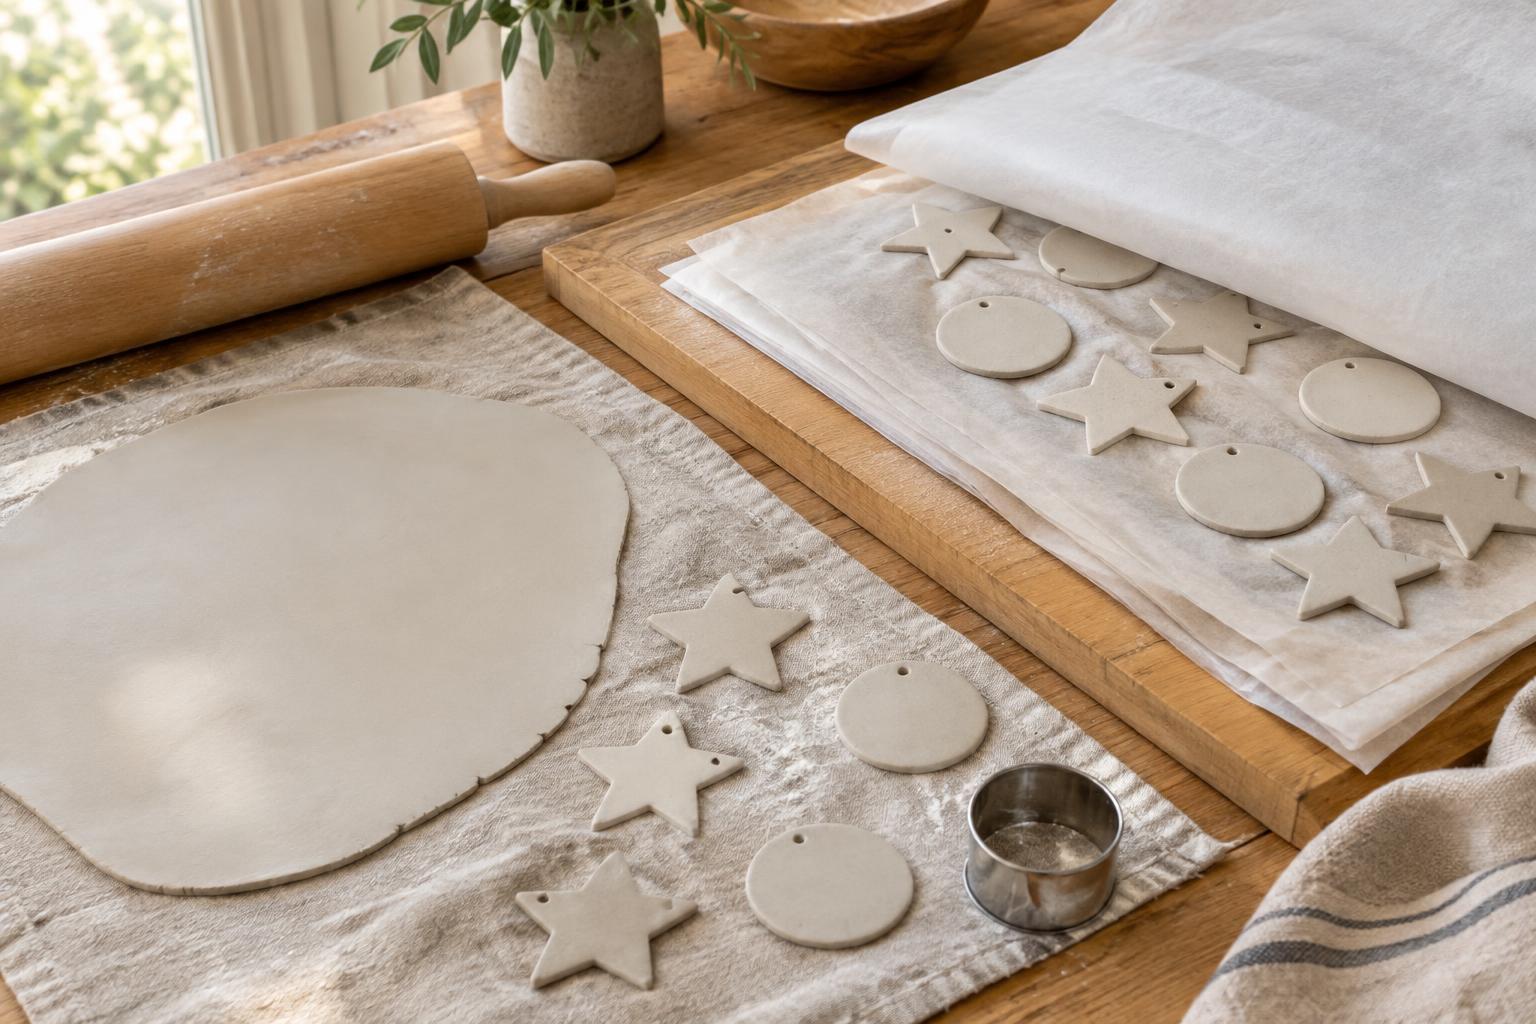
Knead the clay until it feels smooth and pliable, then roll it on a clean, nonstick work surface. Place two equal-height guides, such as craft sticks, on either side of the clay and roll across them. The guides help prevent thin edges and thick centers, which dry at different rates. Aim for a slab sturdy enough to lift without stretching, while keeping its thickness consistent from one end to the other.
Cut shapes with a firm, straight downward press rather than dragging the cutter through the clay. Remove the surrounding scraps before moving each ornament. For delicate shapes, slide a thin card or flexible scraper underneath so the piece stays supported as you transfer it. If a cut edge looks compressed or ragged, smooth it gently with a fingertip or a barely damp brush; too much added water can soften the edge and slow its drying.
Plan the details before drying
Make hanging holes while the clay is soft. A straw, skewer or small round tool can work, depending on the cord you intend to use. Leave enough clay between the hole and the ornament’s edge to reduce the chance of breakage, and check the back for a raised rim where the tool came through. Press that rim down gently so the ornament can rest flat.
Keep stamped or carved details relatively shallow, particularly on thin pieces. Deep impressions may leave a weak spot or create uneven thickness. If you want to add a raised detail, attach it securely while both pieces are workable and follow the clay maker’s joining advice. A heavily built-up decoration may dry differently from its base, so a simple, evenly shaped test ornament is the best place to begin.
Dry slowly with both sides supported
Set the ornaments on a flat surface that allows gentle drying, following any surface recommendations on the package. Leave space between pieces and keep them away from direct heat or a strong draft, which can dry exposed areas quickly. If the surface underneath stays damp, change the paper or move the pieces to a fresh, flat area once they are firm enough to handle. Avoid picking them up by one edge while they are still soft.
When an ornament holds its shape without flexing, turn it over carefully so the underside can dry as well. Support the whole piece with a card or your palm during the turn. If a piece begins to curl while still slightly pliable, you can try resting it between clean, flat surfaces with only light, even pressure, provided the clay’s instructions allow it. Heavy weight can flatten decorative details or trap moisture. Allow the ornament to dry fully before finishing; a surface that feels dry may still have a softer center.
Finish gently and adjust the next batch
Once the clay is completely dry, smooth rough edges with fine sandpaper, working gently so thin points do not snap. Wipe away dust with a soft cloth, and avoid breathing sanding dust. Paint or seal the ornament only as directed for the clay and finish you are using. A decorative coating does not necessarily make air-dry clay waterproof or suitable for food contact.
If your test ornaments warp, change one variable at a time on the next batch. Try a more even slab, a simpler shape, less water during smoothing or a drying spot with gentler airflow. Note whether the curl appeared before or after turning: early bending may point to stretching during transfer, while later curling may suggest uneven drying. Those small observations are more useful than rushing to flatten every piece after it has hardened.